I have not spend too much time with Istio in the last weeks but after my previous article about running Istio Service Mesh on OpenShift I wanted to do the same and deploy Istio Service Mesh on an Amazon EKS cluster. This time I did the recommended way of using a helm template to deploy Istio which is more flexible then the Ansible operator for the OpenShift deployment.
Once you have created your EKS cluster you can start, there are not many prerequisite for EKS so you can basically create the istio namespace and create a secret for Kiali, and start to deploy the helm template:
kubectl create namespace istio-system

USERNAME=$(echo -n 'admin' | base64)
PASSPHRASE=$(echo -n 'supersecretpassword!!' | base64)
NAMESPACE=istio-system

cat <<EOF | kubectl apply -n istio-system -f -
apiVersion: v1
kind: Secret
metadata:
  name: kiali
  namespace: $NAMESPACE
  labels:
    app: kiali
type: Opaque
data:
  username: $USERNAME
  passphrase: $PASSPHRASE
EOF
You then create the Custom Resource Definitions (CRDs) for Istio:
helm template istio-1.1.4/install/kubernetes/helm/istio-init --name istio-init --namespace istio-system | kubectl apply -f -

# Check the created Istio CRDs
kubectl get crds -n istio-system | grep 'istio.io\|certmanager.k8s.io' | wc -l
At this point you can deploy the main Istio Helm template. See the installation options for more detail about customizing the installation:
helm template istio-1.1.4/install/kubernetes/helm/istio --name istio --namespace istio-system  --set grafana.enabled=true --set tracing.enabled=true --set kiali.enabled=true --set kiali.dashboard.secretName=kiali --set kiali.dashboard.usernameKey=username --set kiali.dashboard.passphraseKey=passphrase | kubectl apply -f -

# Validate and see that all components start
kubectl get pods -n istio-system -w
The Kiali service has the type clusterIP which we need to change to type LoadBalancer:
kubectl patch svc kiali -n istio-system --patch '{"spec": {"type": "LoadBalancer" }}'

# Get the create AWS ELB for the Kiali service
$ kubectl get svc kiali -n istio-system --no-headers | awk '{ print $4 }'
abbf8224773f111e99e8a066e034c3d4-78576474.eu-west-1.elb.amazonaws.com
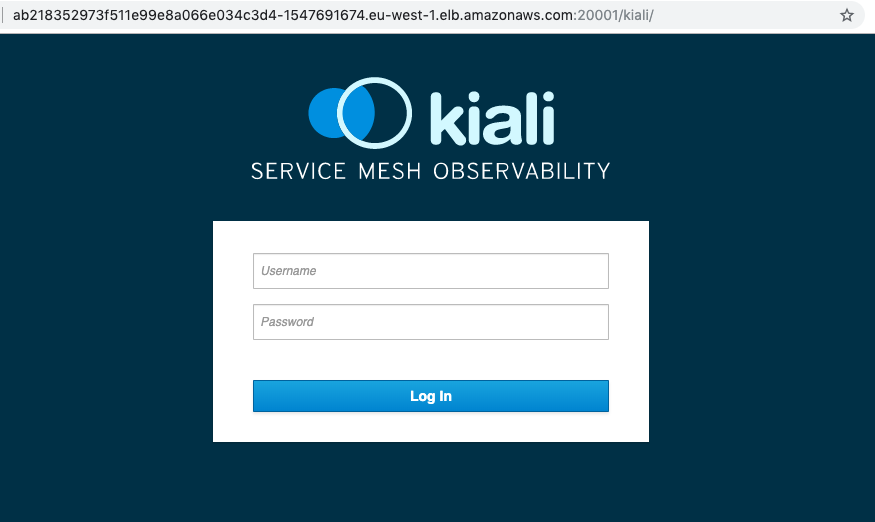
Now we are able to access the Kiali dashboard and login with the credentials I have specified earlier in the Kiali secret.
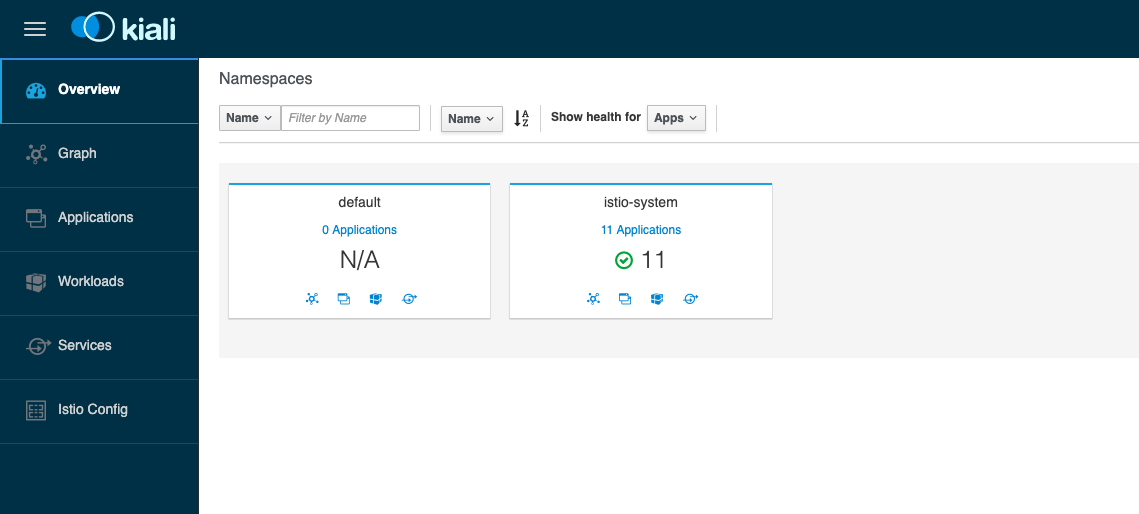
We didn’t deploy anything else yet so the default namespace is empty:
I recommend having a look at the Istio-Sidecar injection. If your istio-sidecar containers are not getting deployed you might forgot to allow TCP port 443 from your control-plane to worker nodes. Have a look at the Github issue about this: Admission control webhooks (e.g. sidecar injector) don’t work on EKS.
We can continue and deploy the Google Hipster Shop example.
# Label default namespace to inject Envoy sidecar
kubectl label namespace default istio-injection=enabled

# Check istio sidecar injector label
kubectl get namespace -L istio-injection

# Deploy Google hipster shop manifests
kubectl create -f https://raw.githubusercontent.com/berndonline/aws-eks-terraform/master/example/istio-hipster-shop.yml
kubectl create -f https://raw.githubusercontent.com/berndonline/aws-eks-terraform/master/example/istio-manifest.yml

# Wait a few minutes before deploying the load generator
kubectl create -f https://raw.githubusercontent.com/berndonline/aws-eks-terraform/master/example/istio-loadgenerator.yml
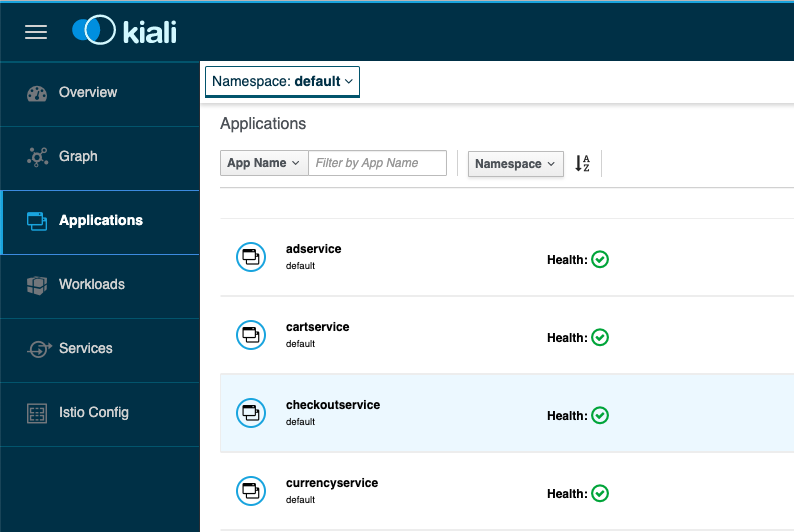
We can check again the Kiali dashboard once the application is deployed and healthy. If there are issues with the Envoy sidecar you will see a warning “Missing Sidecar”:
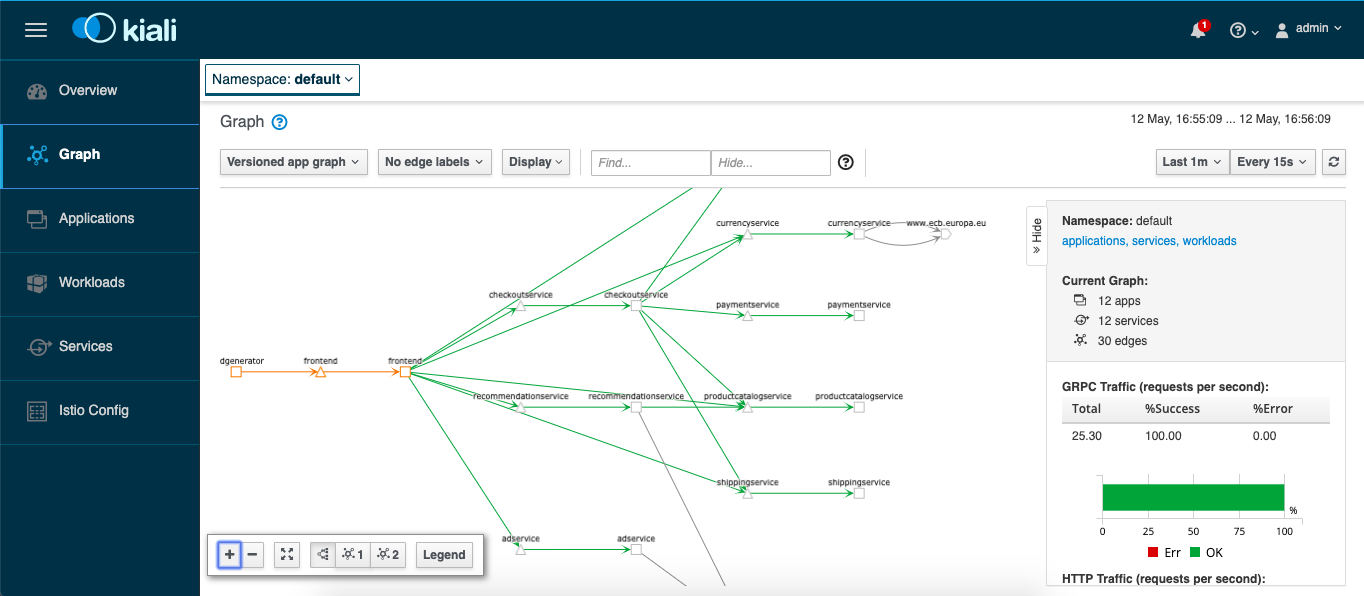
We are also able to see the graph which shows detailed traffic flows within the microservice application.
Let’s get the hostname for the istio-ingressgateway service and connect via the web browser:
$ kubectl get svc istio-ingressgateway -n istio-system --no-headers | awk '{ print $4 }'
a16f7090c74ca11e9a1fb02cd763ca9e-362893117.eu-west-1.elb.amazonaws.com

Before you destroy your EKS cluster you should remove all installed components because Kubernetes service type LoadBalancer created AWS ELBs which will not get deleted and stay behind when you delete the EKS cluster:
kubectl label namespace default istio-injection-
kubectl delete -f https://raw.githubusercontent.com/berndonline/aws-eks-terraform/master/example/istio-loadgenerator.yml
kubectl delete -f https://raw.githubusercontent.com/berndonline/aws-eks-terraform/master/example/istio-hipster-shop.yml
kubectl delete -f https://raw.githubusercontent.com/berndonline/aws-eks-terraform/master/example/istio-manifest.yml
Finally to remove Istio from EKS you run the same Helm template command but do kubectl delete:
helm template istio-1.1.4/install/kubernetes/helm/istio --name istio --namespace istio-system --set grafana.enabled=true --set tracing.enabled=true --set kiali.enabled=true --set kiali.dashboard.secretName=kiali --set kiali.dashboard.usernameKey=username --set kiali.dashboard.passphraseKey=passphrase | kubectl delete -f -
Very simple to get started with Istio Service Mesh on EKS and if I find some time I will give the Istio Multicluster a try and see how this works to span Istio service mesh across multiple Kubernetes clusters.