It’s been a while since I’ve written anything publicly and like many in platform engineering, I’ve been head down, building, scaling and supporting. But after presenting at the OpenShift Commons Gathering alongside KubeCon 2025 in London, I felt it was time to share some of that journey and particularly the importance of product thinking in platform engineering.

In today’s cloud-native world, building an internal platform isn’t enough. If your platform isn’t treated like a product with real users, feedback loops and continuous iteration, it will fail to gain adoption, cause friction and ultimately slow down delivery.
I’ve seen this firsthand. In 2020, I led the design and build of a multi-tenant Kubernetes platform long before “platform as a product” was a common concept. What started as a response to infrastructure bottlenecks became a mature self-service platform that is now used globally by dozens of engineering teams.
This blog isn’t just about what we built it’s about why thinking like a product team is the foundation of modern platform engineering success.
If you prefer to watch rather than read, here’s the recording of my talk from the OpenShift Commons Gathering in London, where I go into these ideas in more detail:
The Case for Product Thinking in Platform Engineering
Too often internal platforms are built with an infrastructure-first mindset: lots of YAML, few users and almost no UX. But modern engineering teams expect more:
-
APIs that just work
-
Documentation that’s up to date
-
Rapid self-service delivery
-
Immediate feedback
-
A clear path from idea to production
That’s why your platform needs to be compelling, self-service, and accessible just like a great product.
How Success Looks in Practice
In 2020, my team and I set out to solve serious pain points:
-
4–8 month compute lead times
-
TicketOps and manual change gates
-
External dependencies and missing knowledge
-
No clear self-service paths
-
Frequent config drift, duplication and lack of consistency
We didn’t want to patch these problems and we wanted to reimagine how a platform should work.
The result was our internal Platform Product, a multi-tenant OpenShift-based Kubernetes platform built as a product, not just infrastructure.
Here’s what made it successful:
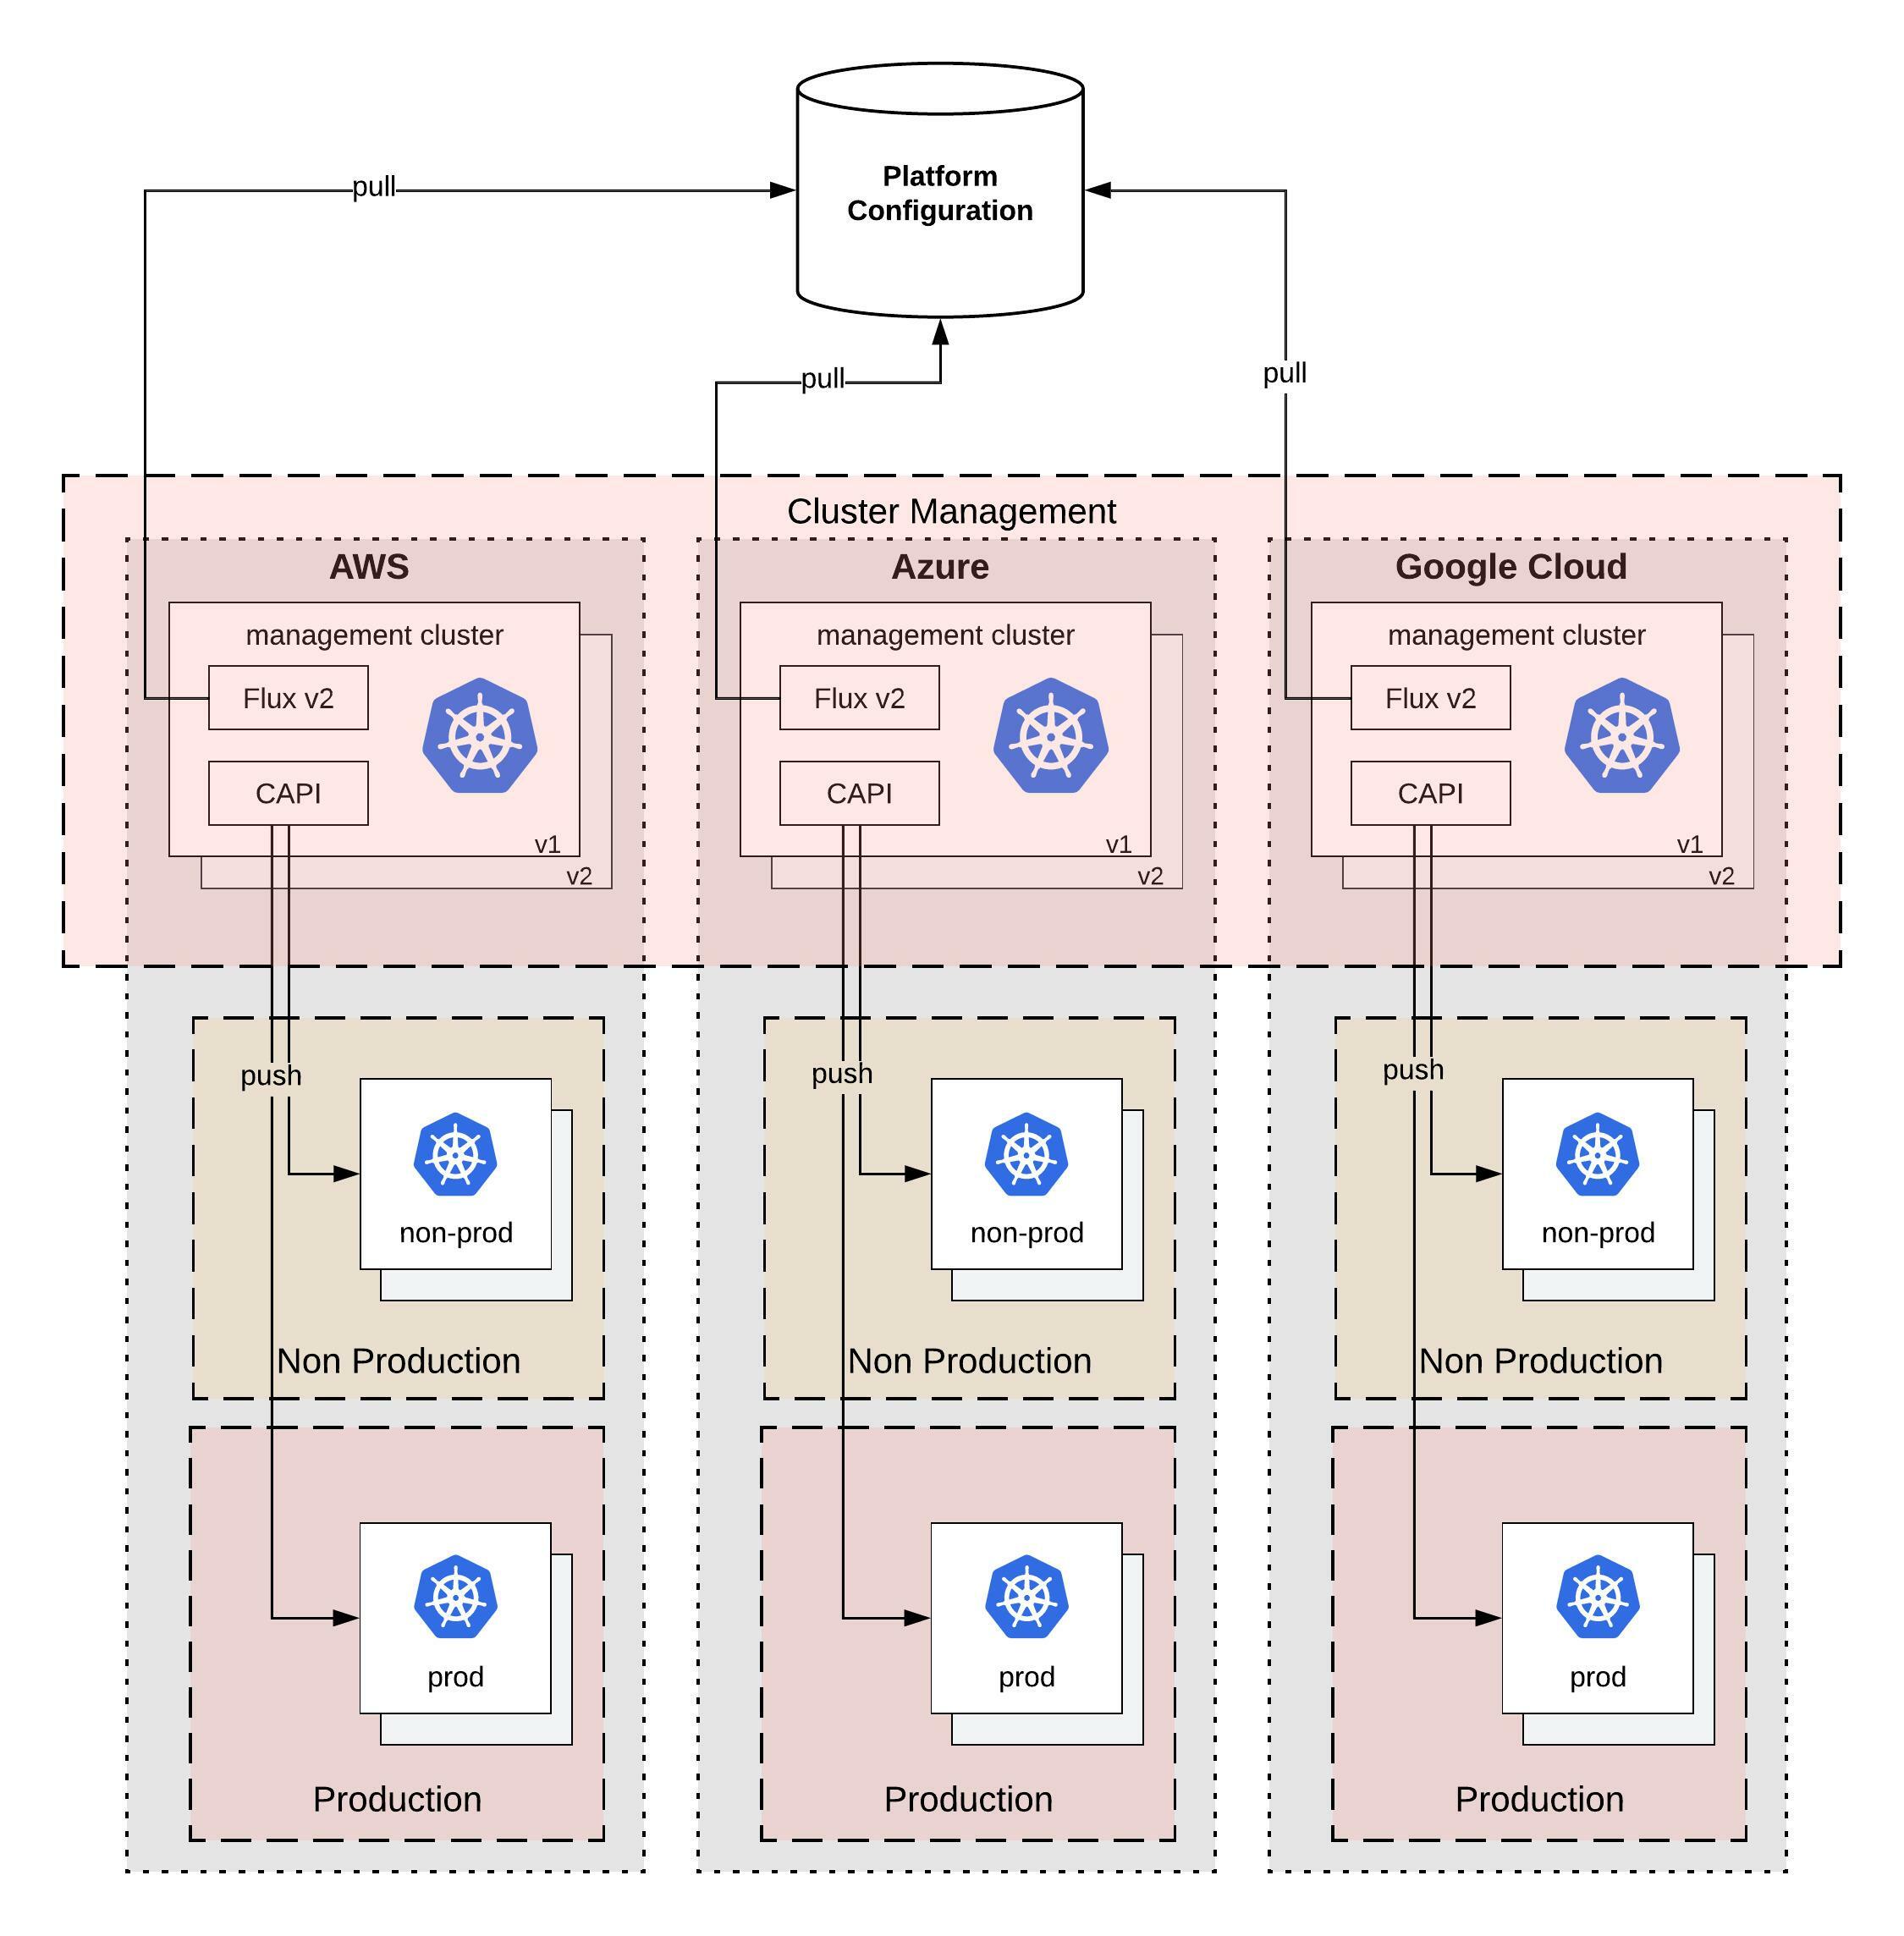
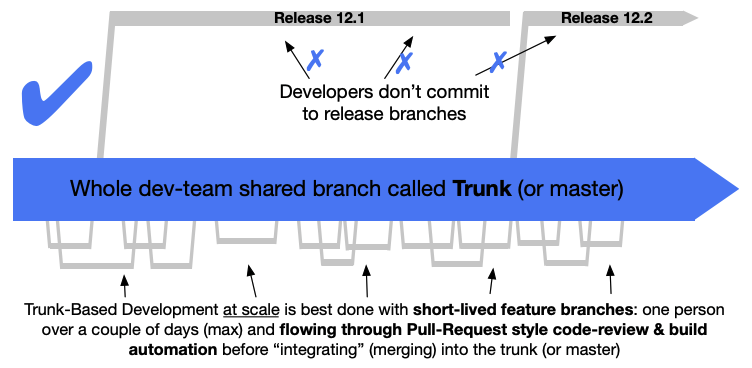
1. Self-Service and GitOps by Default
Developers create and manage their own workloads without opening tickets. Platform features are exposed via Kubernetes-native APIs and Custom Resources. All requests are declarative and go through GitOps with automated validation.
2. Multi-Tenancy with Guard Rails
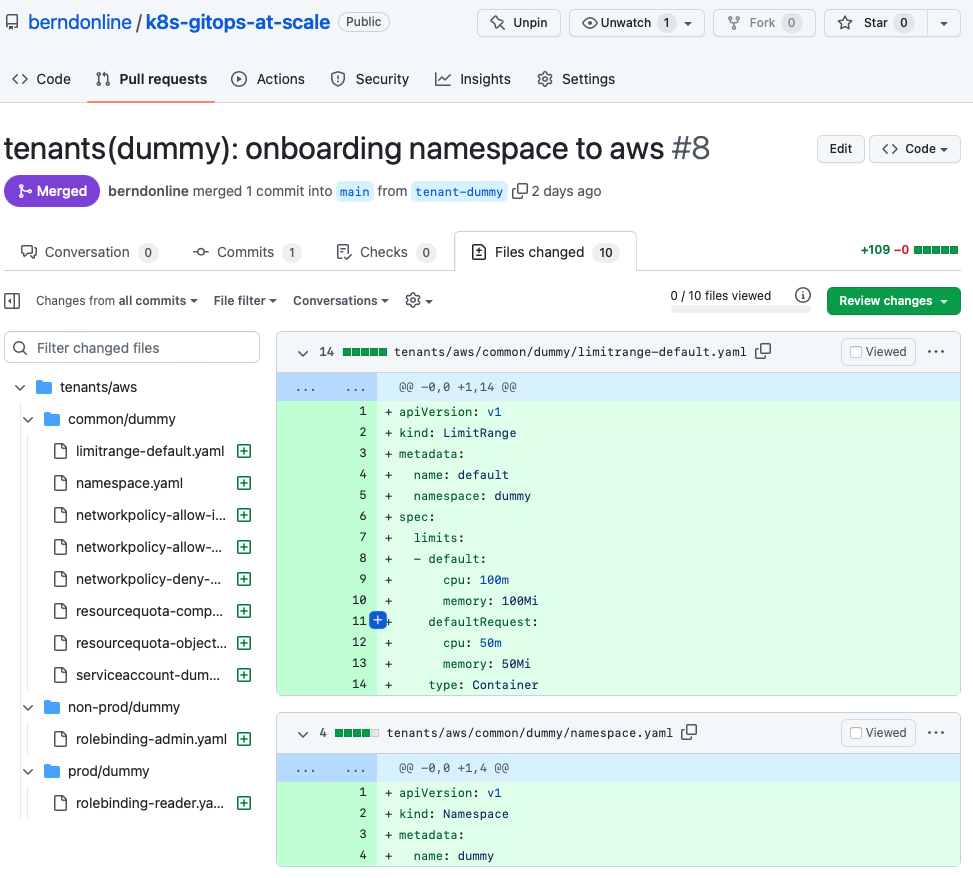
Each team is onboarded via a simple pull request that provisions their namespace and registers ownership. All changes are subject to automated checks using validating webhooks, object schema linting and RBAC enforcement.
3. Focus on Developer Experience
We designed the platform to be the path of least resistance:
-
Free sandbox environments
-
Pre-filled onboarding templates
-
Built-in best practices
-
Documentation and a developer portal
-
Persistent support channels and short feedback loops
4. Observability and Policy Everywhere
The product is highly secure (PCI-DSS compliant), fully observable and tightly integrated with cloud infrastructure. Each feature includes sensible defaults and field-tested configuration to help users succeed without needing deep Kubernetes expertise.
The Benefits of Productising Your Platform
Treating your platform like a product brings clear, measurable advantages:
| Platform as Infrastructure | Platform as a Product |
|---|---|
| Ticket-driven operations | Self-service automation |
| One-size-fits-all features | Iterative roadmap based on user needs |
| Inconsistent experience | Standardized onboarding & guardrails |
| Siloed knowledge | Published docs & support channels |
| Siloed teams | Transparent ownership & feedback |
In our case, this mindset has helped:
-
Onboard tenants in minutes, not weeks
-
Cut incident volume due to misconfiguration
-
Empower teams to deploy faster and more safely
-
Scale the platform globally with a lean team
Final Thoughts: Platform Teams Need Product DNA
Success in platform engineering isn’t just about Kubernetes, pipelines or YAML. It’s about building something people want to use. That’s what product thinking brings to the table.
If you’re leading or contributing to an internal platform today, start thinking like a product team:
-
Understand your users deeply
-
Design for ease of use and autonomy
-
Invest in documentation, automation and support
-
Create feedback loops and iterate often
You’re not just shipping infrastructure, you’re building a product that enables every other product in your company. Treat it like one.