I stumbled across a very interesting Kubernetes distribution called Typhoon which runs a self-hosted control-plane using Bootkube running on CoreOS. Typhoon uses Terraform to deploy the required instances on various cloud providers or on bare-metal servers. I really like the concept of a minimal Kubernetes distribution and a simple bootstrap to deploy a full featured cluster in a few minutes. Check out the official Typhoon website or their Github repository for more information.
To install Typhoon I followed the documentation, everything is pretty simple with a bit of Terraform knowledge. Here’s my Github repository with my cluster configuration: https://github.com/berndonline/typhoon-kubernetes/tree/aws
Before you start you need to install Terraform v0.11.x and terraform-provider-ct, and setup a AWS Route53 domain for the Kubernetes cluster.
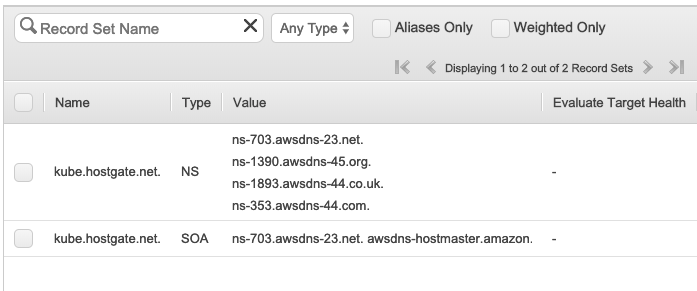
I created a new subdomain on Route53 and configured delegation on CloudFlare for the domain.
Let’s checkout the configuration, first the cluster.tf which I have modified slightly because I use Jenkins to deploy the Kubernetes cluster.
module "aws-cluster" {
  source = "git::https://github.com/poseidon/typhoon//aws/container-linux/kubernetes?ref=v1.13.3"

  providers = {
    aws = "aws.default"
    local = "local.default"
    null = "null.default"
    template = "template.default"
    tls = "tls.default"
  }

  # AWS
  cluster_name = "typhoon"
  dns_zone     = "${var.dns}"
  dns_zone_id  = "${var.dns_id}"

  # configuration
  ssh_authorized_key = "${var.ssh_key}"
  asset_dir          = "./.secrets/clusters/typhoon"

  # optional
  worker_count = 2
  worker_type  = "t3.small"
}
In the provider.tf I have only added S3 to be used for the Terraform backend state but otherwise I’ve left the defaults.
provider "aws" {
version = "~> 1.13.0"
alias = "default"
region = "eu-west-1"
}
terraform {
backend "s3" {
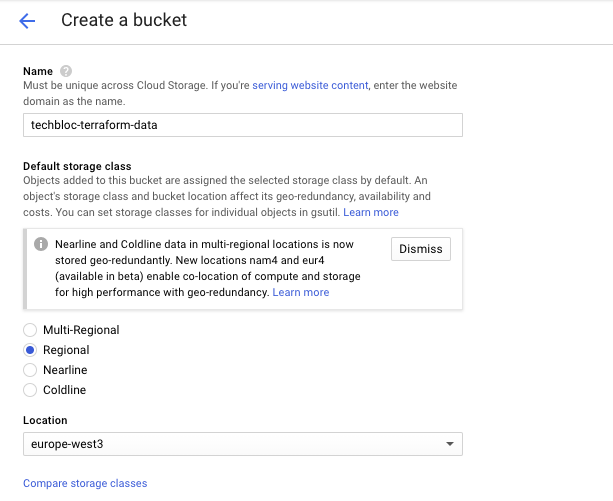
bucket = "techbloc-terraform-data"
key = "openshift-311"
region = "eu-west-1"
}
}
...
I added a variables.tf file for the DNS and SSH variables.
variable "dns" {
}
variable "dns_id" {
}
variable "ssh_key" {
}
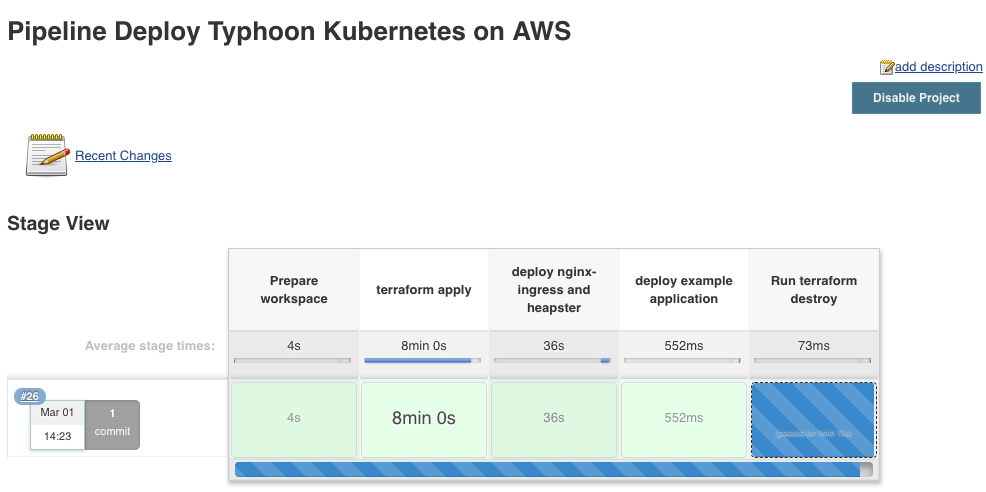
Let’s have a quick look at my simple Jenkins pipeline to deploy Typhoon Kubernetes. Apart from installing Kubernetes I am deploying the Nginx Ingress controller and Heapster addons for the cluster. I’ve also added an example application I have used previously after deploying the cluster.
pipeline {
agent any
environment {
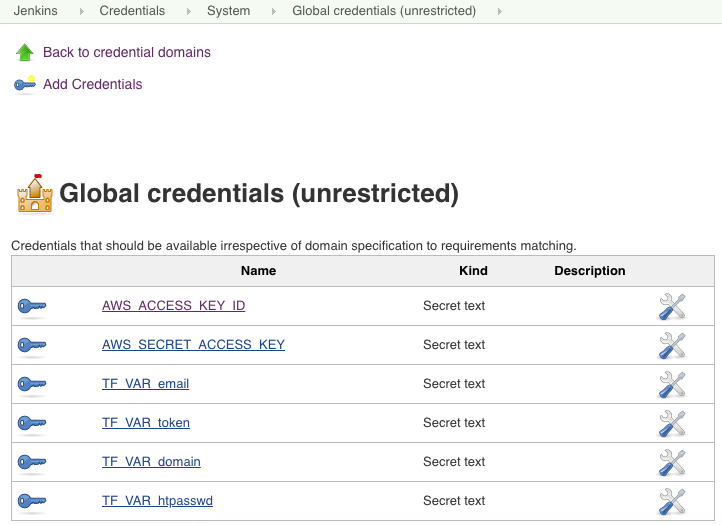
AWS_ACCESS_KEY_ID = credentials('AWS_ACCESS_KEY_ID')
AWS_SECRET_ACCESS_KEY = credentials('AWS_SECRET_ACCESS_KEY')
TF_VAR_dns = credentials('TF_VAR_dns')
TF_VAR_dns_id = credentials('TF_VAR_dns_id')
TF_VAR_ssh_key = credentials('TF_VAR_ssh_key')
}
stages {
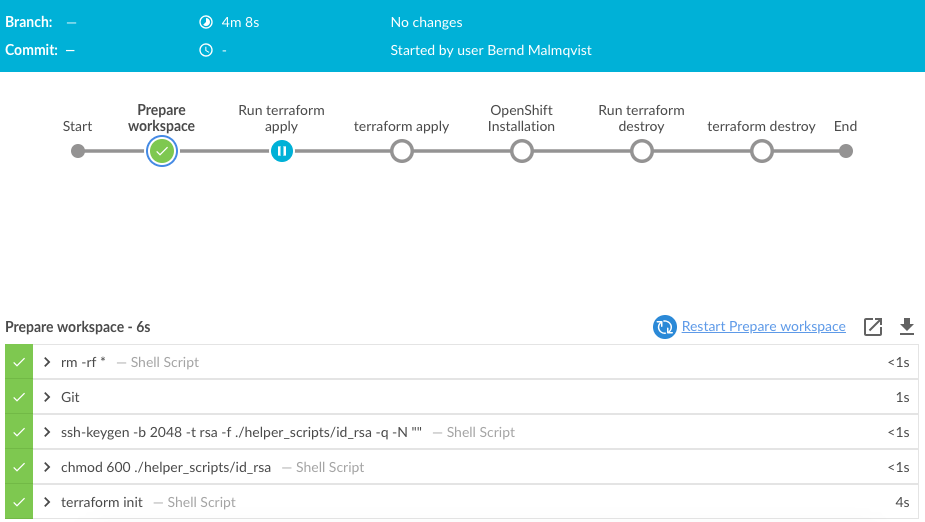
stage('Prepare workspace') {
steps {
sh 'rm -rf *'
git branch: 'aws', url: 'https://github.com/berndonline/typhoon-kubernetes.git'
sh 'terraform init'
}
}
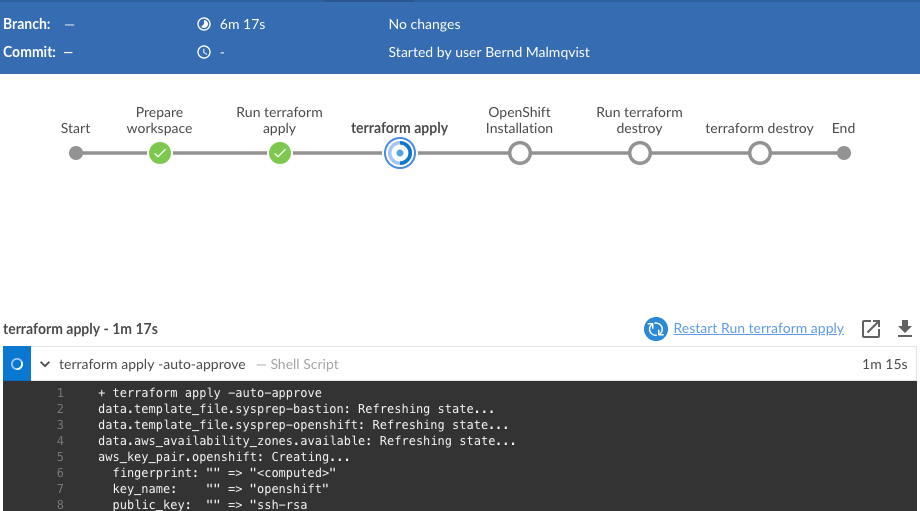
stage('terraform apply') {
steps {
sshagent (credentials: ['fcdca8fa-aab9-3846-832f-4756392b7e2c']) {
sh 'terraform apply -auto-approve'
sh 'sleep 30'
}
}
}
stage('deploy nginx-ingress and heapster') {
steps {
sh 'kubectl apply -R -f ./nginx-ingress/ --kubeconfig=./.secrets/clusters/typhoon/auth/kubeconfig'
sh 'kubectl apply -R -f ./heapster/ --kubeconfig=./.secrets/clusters/typhoon/auth/kubeconfig'
sh 'sleep 30'
}
}
stage('deploy example application') {
steps {
sh 'kubectl apply -f ./example/hello-kubernetes.yml --kubeconfig=./.secrets/clusters/typhoon/auth/kubeconfig'
}
}
stage('Run terraform destroy') {
steps {
input 'Run terraform destroy?'
}
}
stage('terraform destroy') {
steps {
sshagent (credentials: ['fcdca8fa-aab9-3846-832f-4756392b7e2c']) {
sh 'terraform destroy -force'
}
}
}
}
}
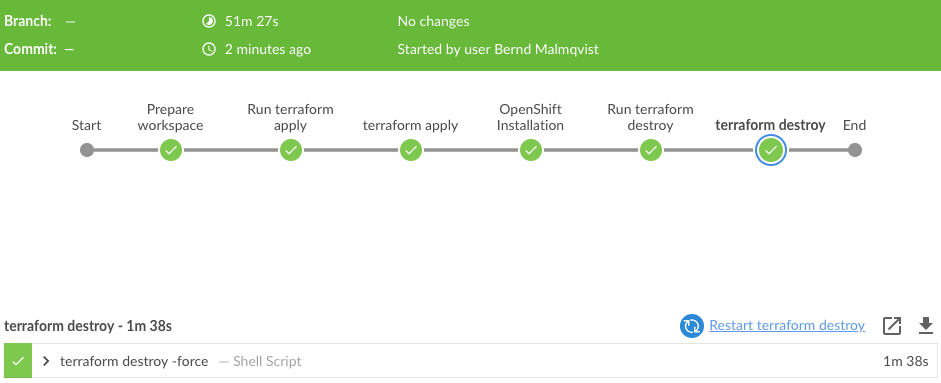
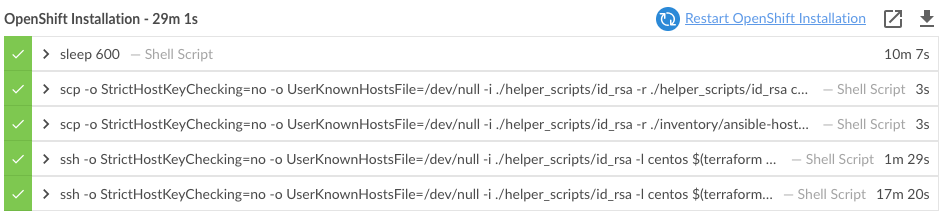
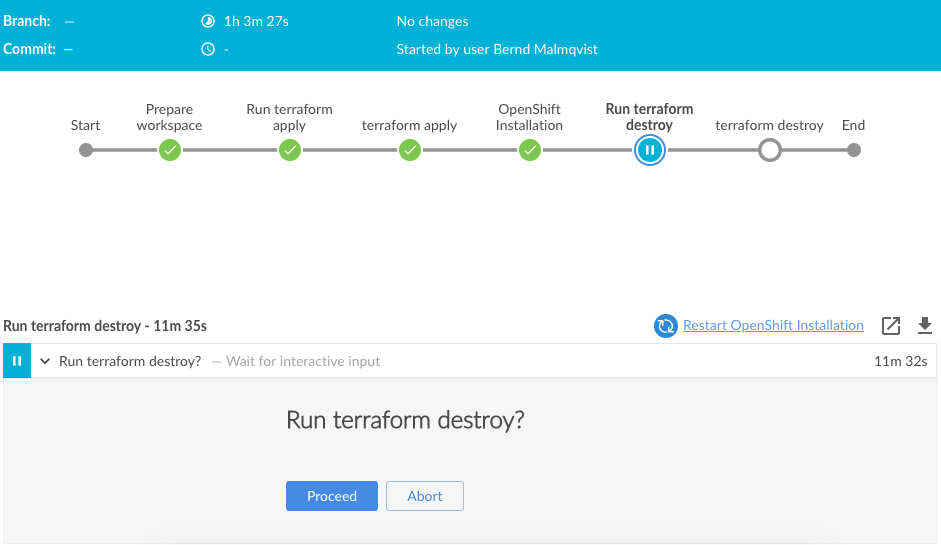
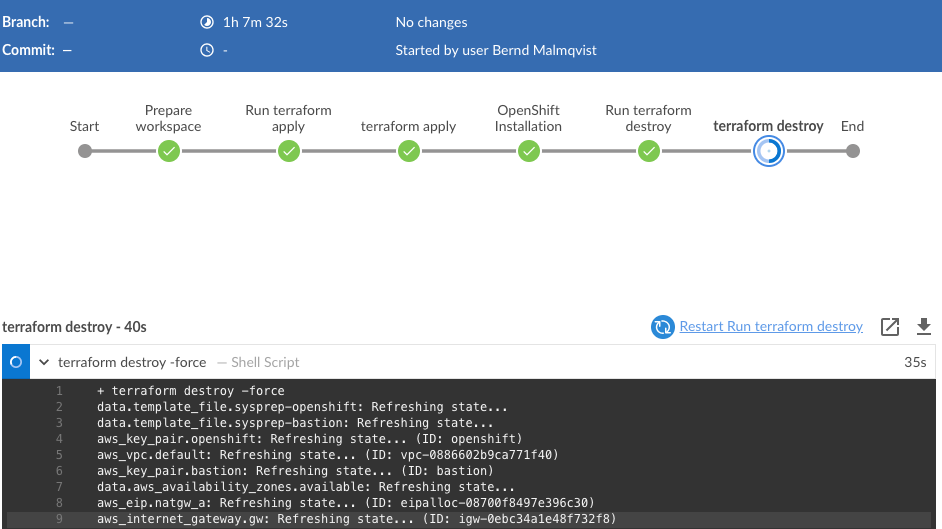
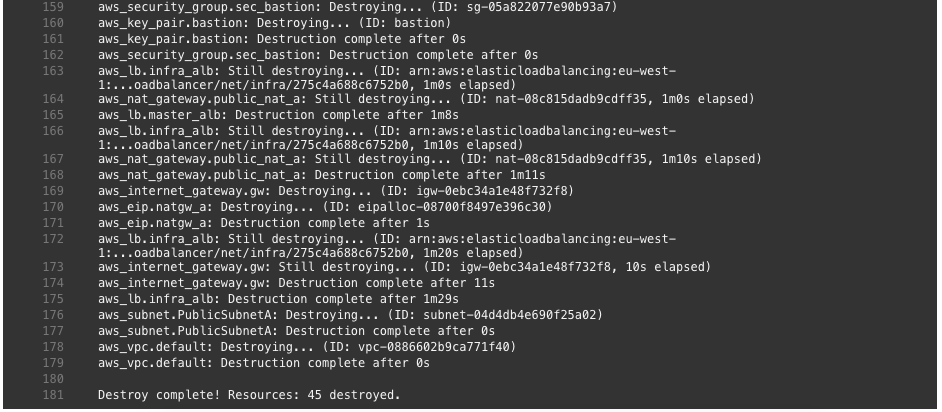
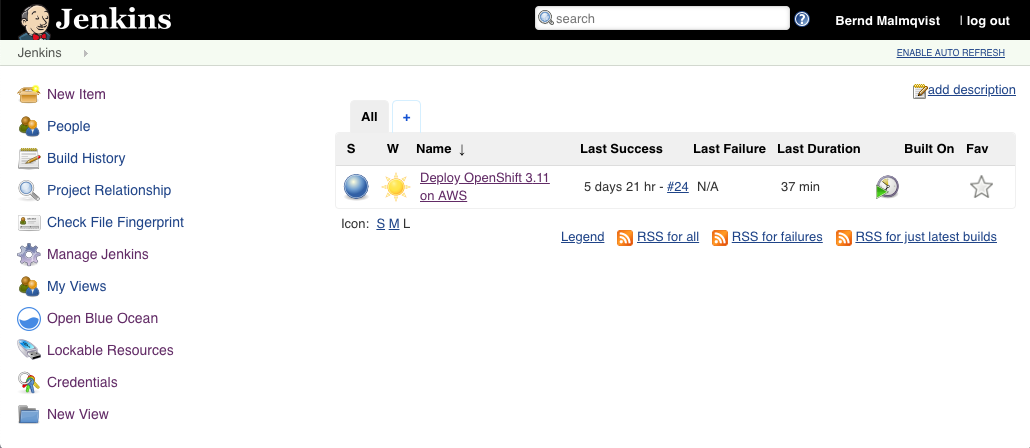
Let’s start the Jenkins pipeline:
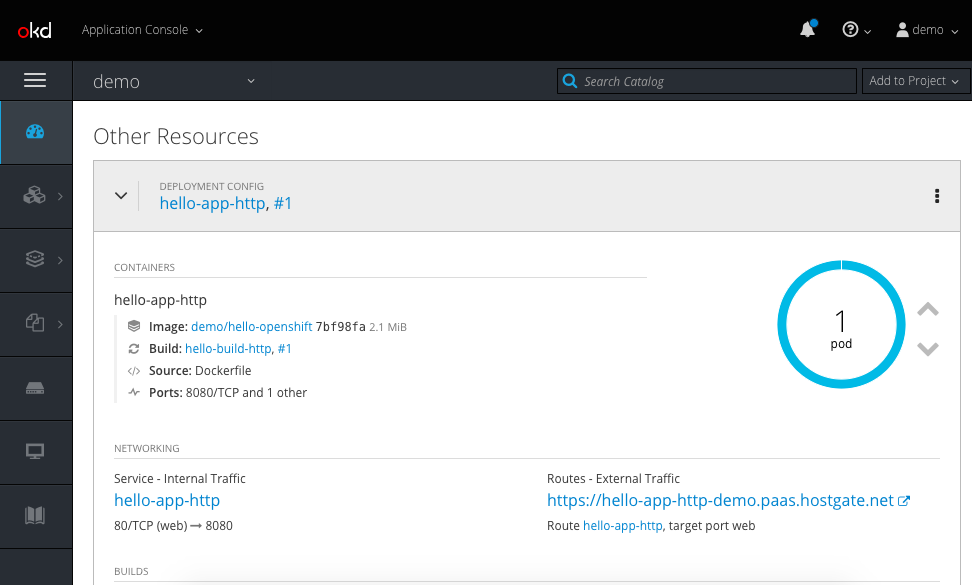
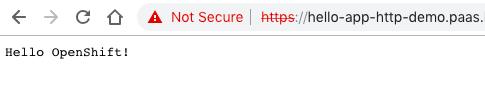
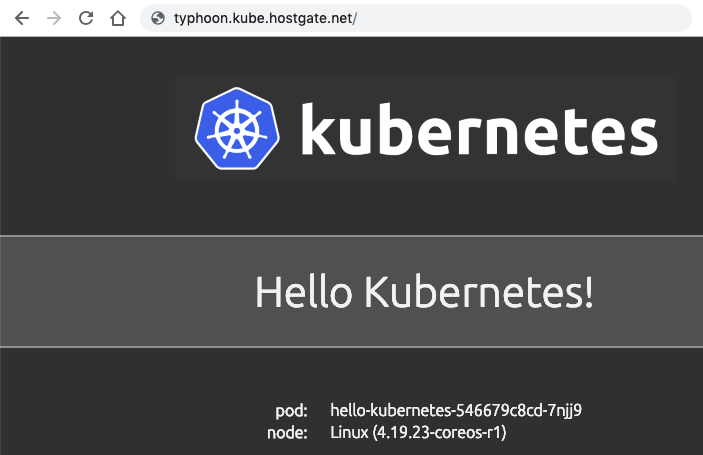
Let’s check if I can access the hello-kubernetes application. For everyone who is interested, this is the link to the Github repository for the hello-kubernetes example application I have used.
I really like the Typhoon Kubernetes distribution and the work that went into it to create a easy way for everyone to install a Kubernetes cluster and start using it in a few minutes. I also find the way they’ve used Terraform and Bootkube to deploy the platform on CoreOS very inspiring and it gave me some ideas how I can make use of it for production clusters.
I actually like CoreOS and the easy bootstrapping with Terraform and Bootkube which I have not used before, I’ve always deployed OpenShift/Kubernetes on either RedHat or CentOS with Ansible, and find it a very interesting way to deploy a Kubernetes platform.