Part two: Ansible URI module and json_query filter

In my previous article I tried to explain how to use the Ansible URI Module and using the Jinja2 template engine to generate the JSON content. In part two I want to explain how to use the json_query filter. I will use the example with AVI Networks Load Balancers but this can be with any device with an REST API.

First we need to get the output from two objects, for both we don’t know the UUIDs and the first two tasks are to collect the configuration from the API using GET and register the output:

- block:
  - name: Avi | Get OpenShift cloud configuration
    uri:
      url: "https://{{ ansible_host }}/api/cloud/"
      method: GET
      user: "{{ avi_username }}"
      password: "{{ avi_password }}"
      return_content: yes
      force_basic_auth: yes
      validate_certs: false
      status_code: 200
      timeout: 180
      headers:
        X-Avi-Version: "{{ api_version }}"
    register: openshift_cloud 
   
  - name: Avi | Get OpenShift Service Engine group
    uri:
      url: "https://{{ ansible_host }}/api/serviceenginegroup/"
      method: GET
      user: "{{ avi_username }}"
      password: "{{ avi_password }}"
      return_content: yes
      force_basic_auth: yes
      validate_certs: false
      status_code: 200
      timeout: 180
      headers:
        X-Avi-Version: "{{ api_version }}"
    register: openshift_segroup
  when: '( inventory_hostname == groups["controller"][0] )'

The two variables openshift_cloud and openshift_segroup contain JSON content with all configuration details. For the OpenShift cloud object I don’t know the UUID, the only reference is the object name “OpenShift Cloud” which I know because I had previously created the object. I am using the Ansible module Set_Fact for specifying the query and writing the output into a new variable openshift_cloud_uuid:

- block:
  - name: Avi | set_fact for OpenShift cloud query
    set_fact:
      openshift_cloud_query: "[?name=='OpenShift Cloud'].uuid"
  
  - name: Avi | set_fact for OpenShift UUID
    set_fact:
      openshift_cloud_uuid: "{{ openshift_cloud.json.results | json_query(openshift_cloud_query) }}"
  when: '( inventory_hostname == groups["controller"][0] )' 

We now have the openshift_cloud_uuid of the OpenShift cloud configuration so let’s continue with the second object of the Service Engine group which is trickier because I don’t know the UUID or the object name. The Service Engine group was automatically set-up in the background when the OpenShift cloud object got created but I know the reference to the OpenShift cloud object and I use the json_query filter and set_fact again:

- block:
  - name: Avi | set_fact for Service Engine group query
    set_fact:
      openshift_segroup_query: "[?cloud_ref=='https://{{ ansible_host }}/api/cloud/{{ openshift_cloud_uuid[0] }}'].uuid"
  
  - name: Avi | set_fact for Service Engine group UUID
    set_fact:
      openshift_segroup_uuid: "{{ openshift_segroup.json.results | json_query(openshift_segroup_query) }}"
  when: '( inventory_hostname == groups["controller"][0] )'

Right now we know the openshift_cloud_uuid and the openshift_segroup_uuid, we use this to load a new Jinja2 template to update the Service Engine group object. See below the Jinja2 template openshift_segroup_json.j2:

{
  ...
  "name": "Default-Group",
  "tenant_ref": "https://{{ ansible_host }}/api/tenant/admin",
  "cloud_ref": "https://{{ ansible_host }}/api/cloud/{{ openshift_cloud_uuid[0] }}",
  ...
  YOUR CHANGES
  ...
}

The last part of this exercise is to load the j2 template and push the json content against the API to update the object using PUT:

- block:
  - name: Avi | set_fact to load Service Engine group json template
    set_fact:
      openshift_segroup_json: "{{ lookup('template', 'openshift_segroup_json.j2') }}"
  
  - name: Avi| Update OpenShift Service Engine group configuration
    uri:
      url: "https://{{ ansible_host }}/api/serviceenginegroup/{{ openshift_segroup_uuid[0] }}"
      method: PUT
      user: "{{ avi_username }}"
      password: "{{ avi_password }}"
      return_content: yes
      force_basic_auth: yes
      validate_certs: false
      body: "{{ openshift_segroup_json }}"
      body_format: json
      status_code: 200
      timeout: 180
      headers:
        X-Avi-Version: "{{ api_version }}"
  when: '( inventory_hostname == groups["controller"][0] )'

I hope this article is helpful on how to use the Ansible URI module and the json_query filter to extract information and update an API object. Please share your feedback and leave a comment.

Here you find the links to the other articles about Ansible URI module:
How to delegate Ansible host variables with set_fact

I ran into an interesting issues about making an service account token on OpenShift accessible by another group of nodes when running a playbook. When you run an oc command and register the output, you face the issue that the registered variable is stored under hostvars of the node name.

Normally you can access hostvars from other nodes like you see below:

"{{ hostvars['hostname']['variable-name'] }}"

I came up with something different and more flexible, instead of accessing hostvars[‘hostname’][‘variable-name’] I am delegating the variable to a group of nodes and make the variable more easily accessible there:

---
- hosts: avi-controller:masters
  gather_facts: false

  pre_tasks:
    - block:
      - name: Get OpenShift token
        command: "oc sa get-token <serveraccount-name> -n <project-name> --config=/etc/origin/master/admin.kubeconfig"
        register: token

      - name: Set serviceaccount token variable and delegate
        set_fact:
          serviceaccount_token: "{{ token.stdout }}"
        delegate_to: "{{ item }}"
        delegate_facts: true
        with_items: "{{ groups['avi-controller'] }}"
      when: ( inventory_hostname == groups["masters"][0] )
 
 roles:
    - { role: "config", when: "'avi-controller' in group_names" }

In the following Ansible role after pre tasks, you are able to access the variable serviceaccount_token on any member of the group “avi-controller” and use with the rest of your automation code.

If you like this article, please share your feedback and leave a comment.

Deploy OpenShift using Jenkins Pipeline and Terraform

I wanted to make my life a bit easier and created a simple Jenkins pipeline to spin-up the AWS instance and deploy OpenShift. Read my previous article: Deploying OpenShift 3.11 Container Platform on AWS using Terraform. You will see in between steps which require input to stop the pipeline, and that keep the OpenShift cluster running without destroying it directly after installing OpenShift. Also check out my blog post I wrote about running Jenkins in a container with Ansible and Terraform.

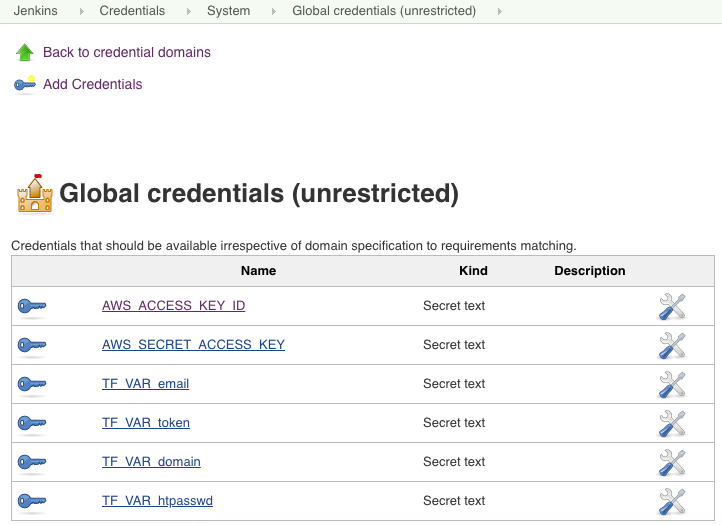
The Jenkins pipeline requires a few environment variables for the credentials to access AWS and CloudFlare. You need to create the necessary credentials beforehand and they get loaded when the pipeline starts.

Here are the pipeline steps which are self explanatory:

pipeline {
    agent any
    environment {
        AWS_ACCESS_KEY_ID = credentials('AWS_ACCESS_KEY_ID')
        AWS_SECRET_ACCESS_KEY = credentials('AWS_SECRET_ACCESS_KEY')
        TF_VAR_email = credentials('TF_VAR_email')
        TF_VAR_token = credentials('TF_VAR_token')
        TF_VAR_domain = credentials('TF_VAR_domain')
        TF_VAR_htpasswd = credentials('TF_VAR_htpasswd')
    }
    stages {
        stage('Prepare workspace') {
            steps {
                sh 'rm -rf *'
                git branch: 'aws-dev', url: 'https://github.com/berndonline/openshift-terraform.git'
                sh 'ssh-keygen -b 2048 -t rsa -f ./helper_scripts/id_rsa -q -N ""'
                sh 'chmod 600 ./helper_scripts/id_rsa'
                sh 'terraform init'
            }
        }
        stage('Run terraform apply') {
            steps {
                input 'Run terraform apply?'
            }
        }
        stage('terraform apply') {
            steps {
                sh 'terraform apply -auto-approve'
            }
        }
        stage('OpenShift Installation') {
            steps {
                sh 'sleep 600'
                sh 'scp -o StrictHostKeyChecking=no -o UserKnownHostsFile=/dev/null -i ./helper_scripts/id_rsa -r ./helper_scripts/id_rsa centos@$(terraform output bastion):/home/centos/.ssh/'
                sh 'scp -o StrictHostKeyChecking=no -o UserKnownHostsFile=/dev/null -i ./helper_scripts/id_rsa -r ./inventory/ansible-hosts  centos@$(terraform output bastion):/home/centos/ansible-hosts'
                sh 'ssh -o StrictHostKeyChecking=no -o UserKnownHostsFile=/dev/null -i ./helper_scripts/id_rsa -l centos $(terraform output bastion) -A "cd /openshift-ansible/ && ansible-playbook ./playbooks/openshift-pre.yml -i ~/ansible-hosts"'
                sh 'ssh -o StrictHostKeyChecking=no -o UserKnownHostsFile=/dev/null -i ./helper_scripts/id_rsa -l centos $(terraform output bastion) -A "cd /openshift-ansible/ && ansible-playbook ./playbooks/openshift-install.yml -i ~/ansible-hosts"'
            }
        }        
        stage('Run terraform destroy') {
            steps {
                input 'Run terraform destroy?'
            }
        }
        stage('terraform destroy') {
            steps {
                sh 'terraform destroy -force '
            }
        }
    }
}

Let’s trigger the pipeline and look at the progress of the different steps.

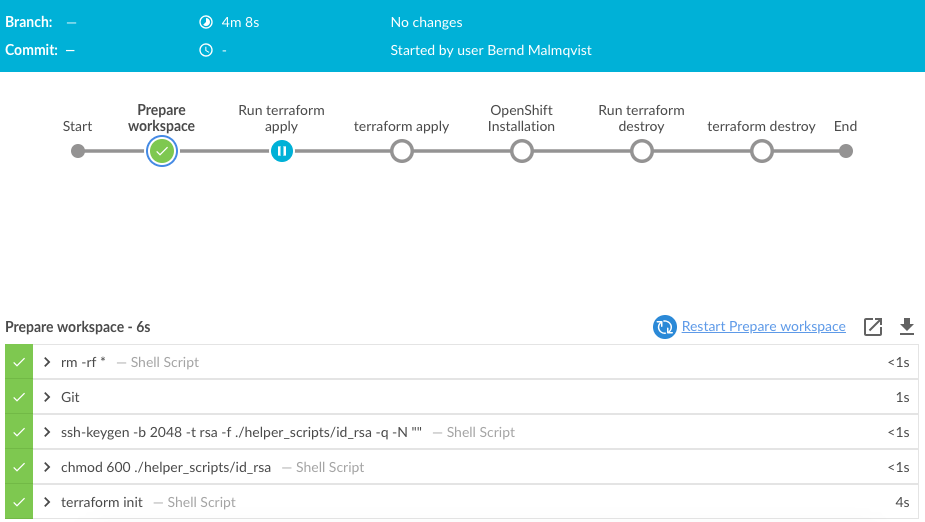
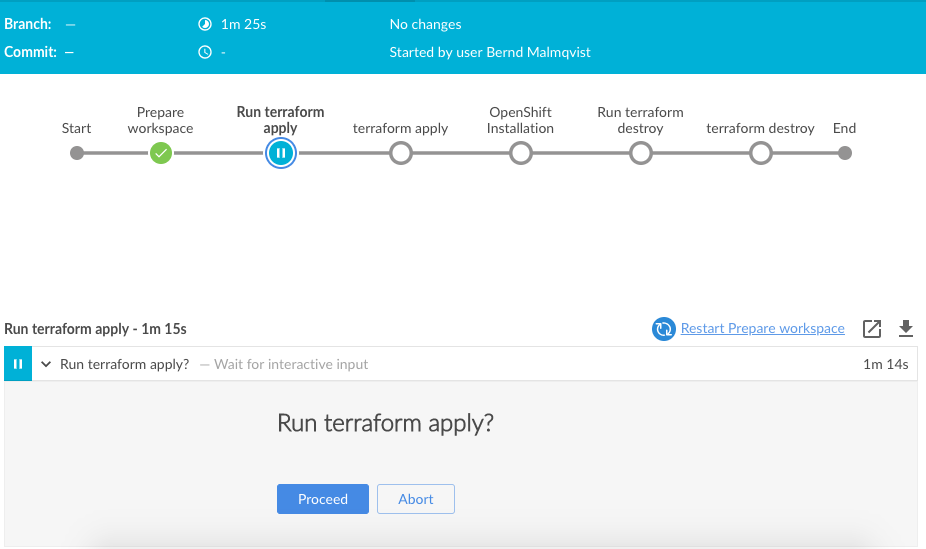
The first step preparing the workspace is very quick and the pipeline is waiting for an input to run terraform apply:

Just click on proceed to continue:

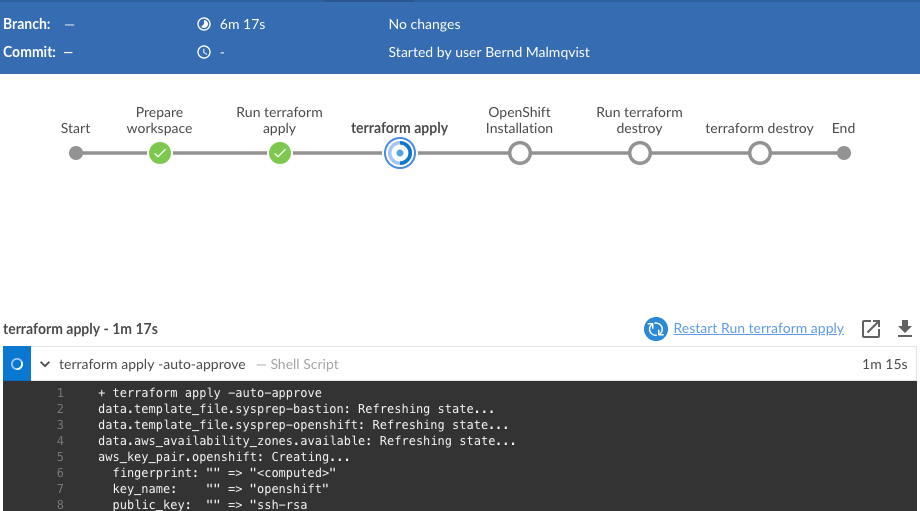
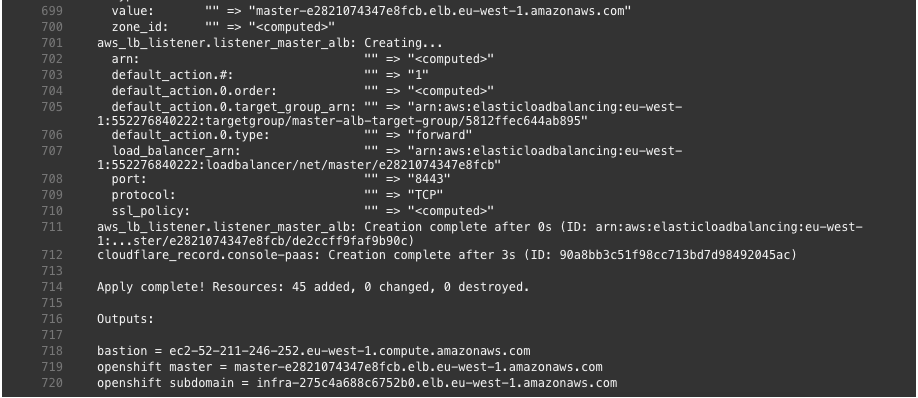
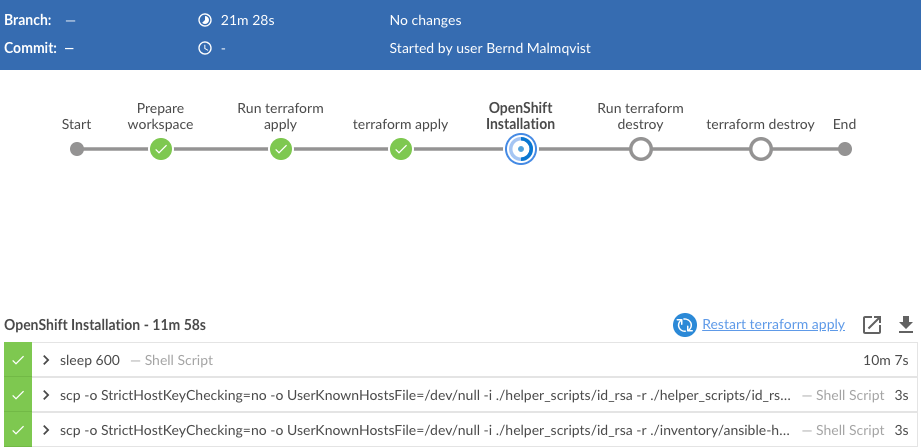
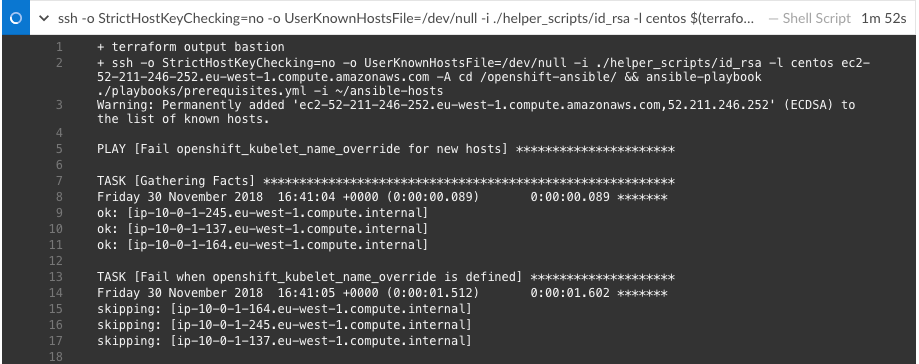
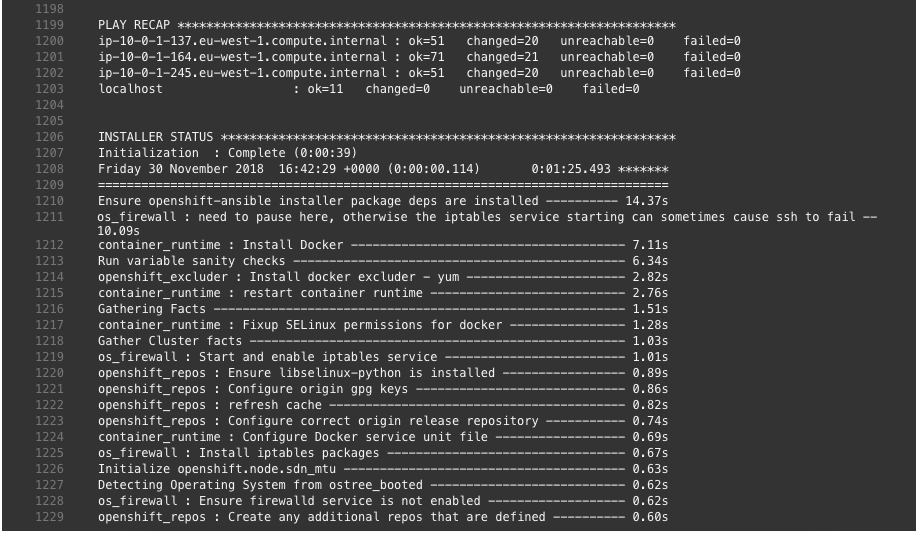
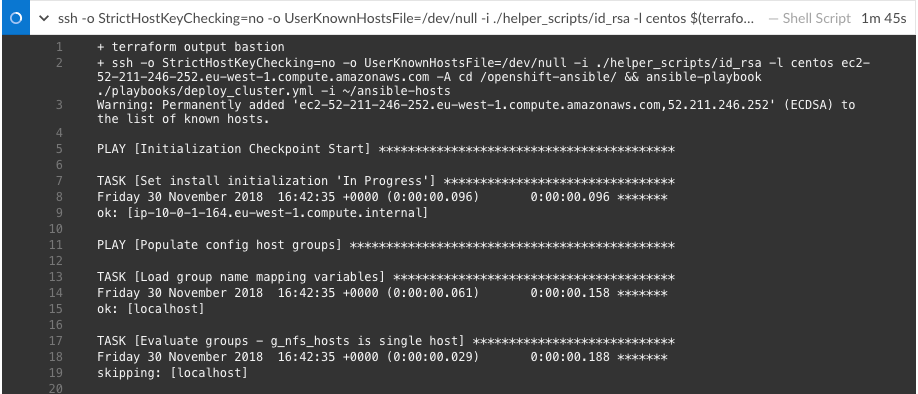
After the AWS and CloudFlare resources are created with Terraform, it continues with the next step installing OpenShift 3.11 on the AWS instances:

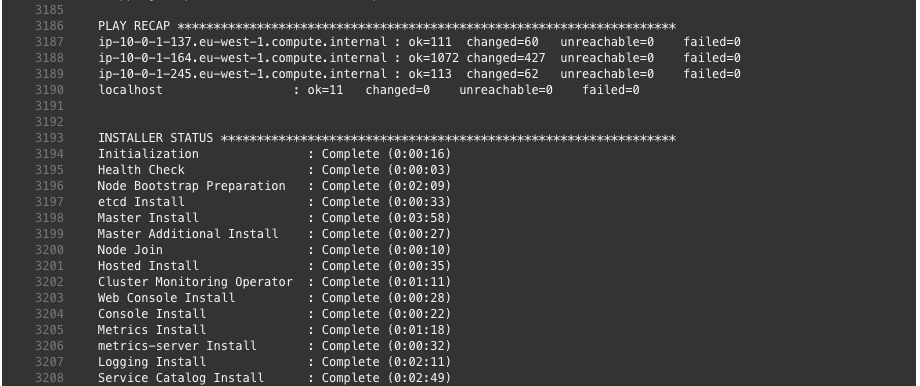
By this point the OpenShift installation is completed.

You can continue and login to the console-paas.. and continue doing your testing on OpenShift.

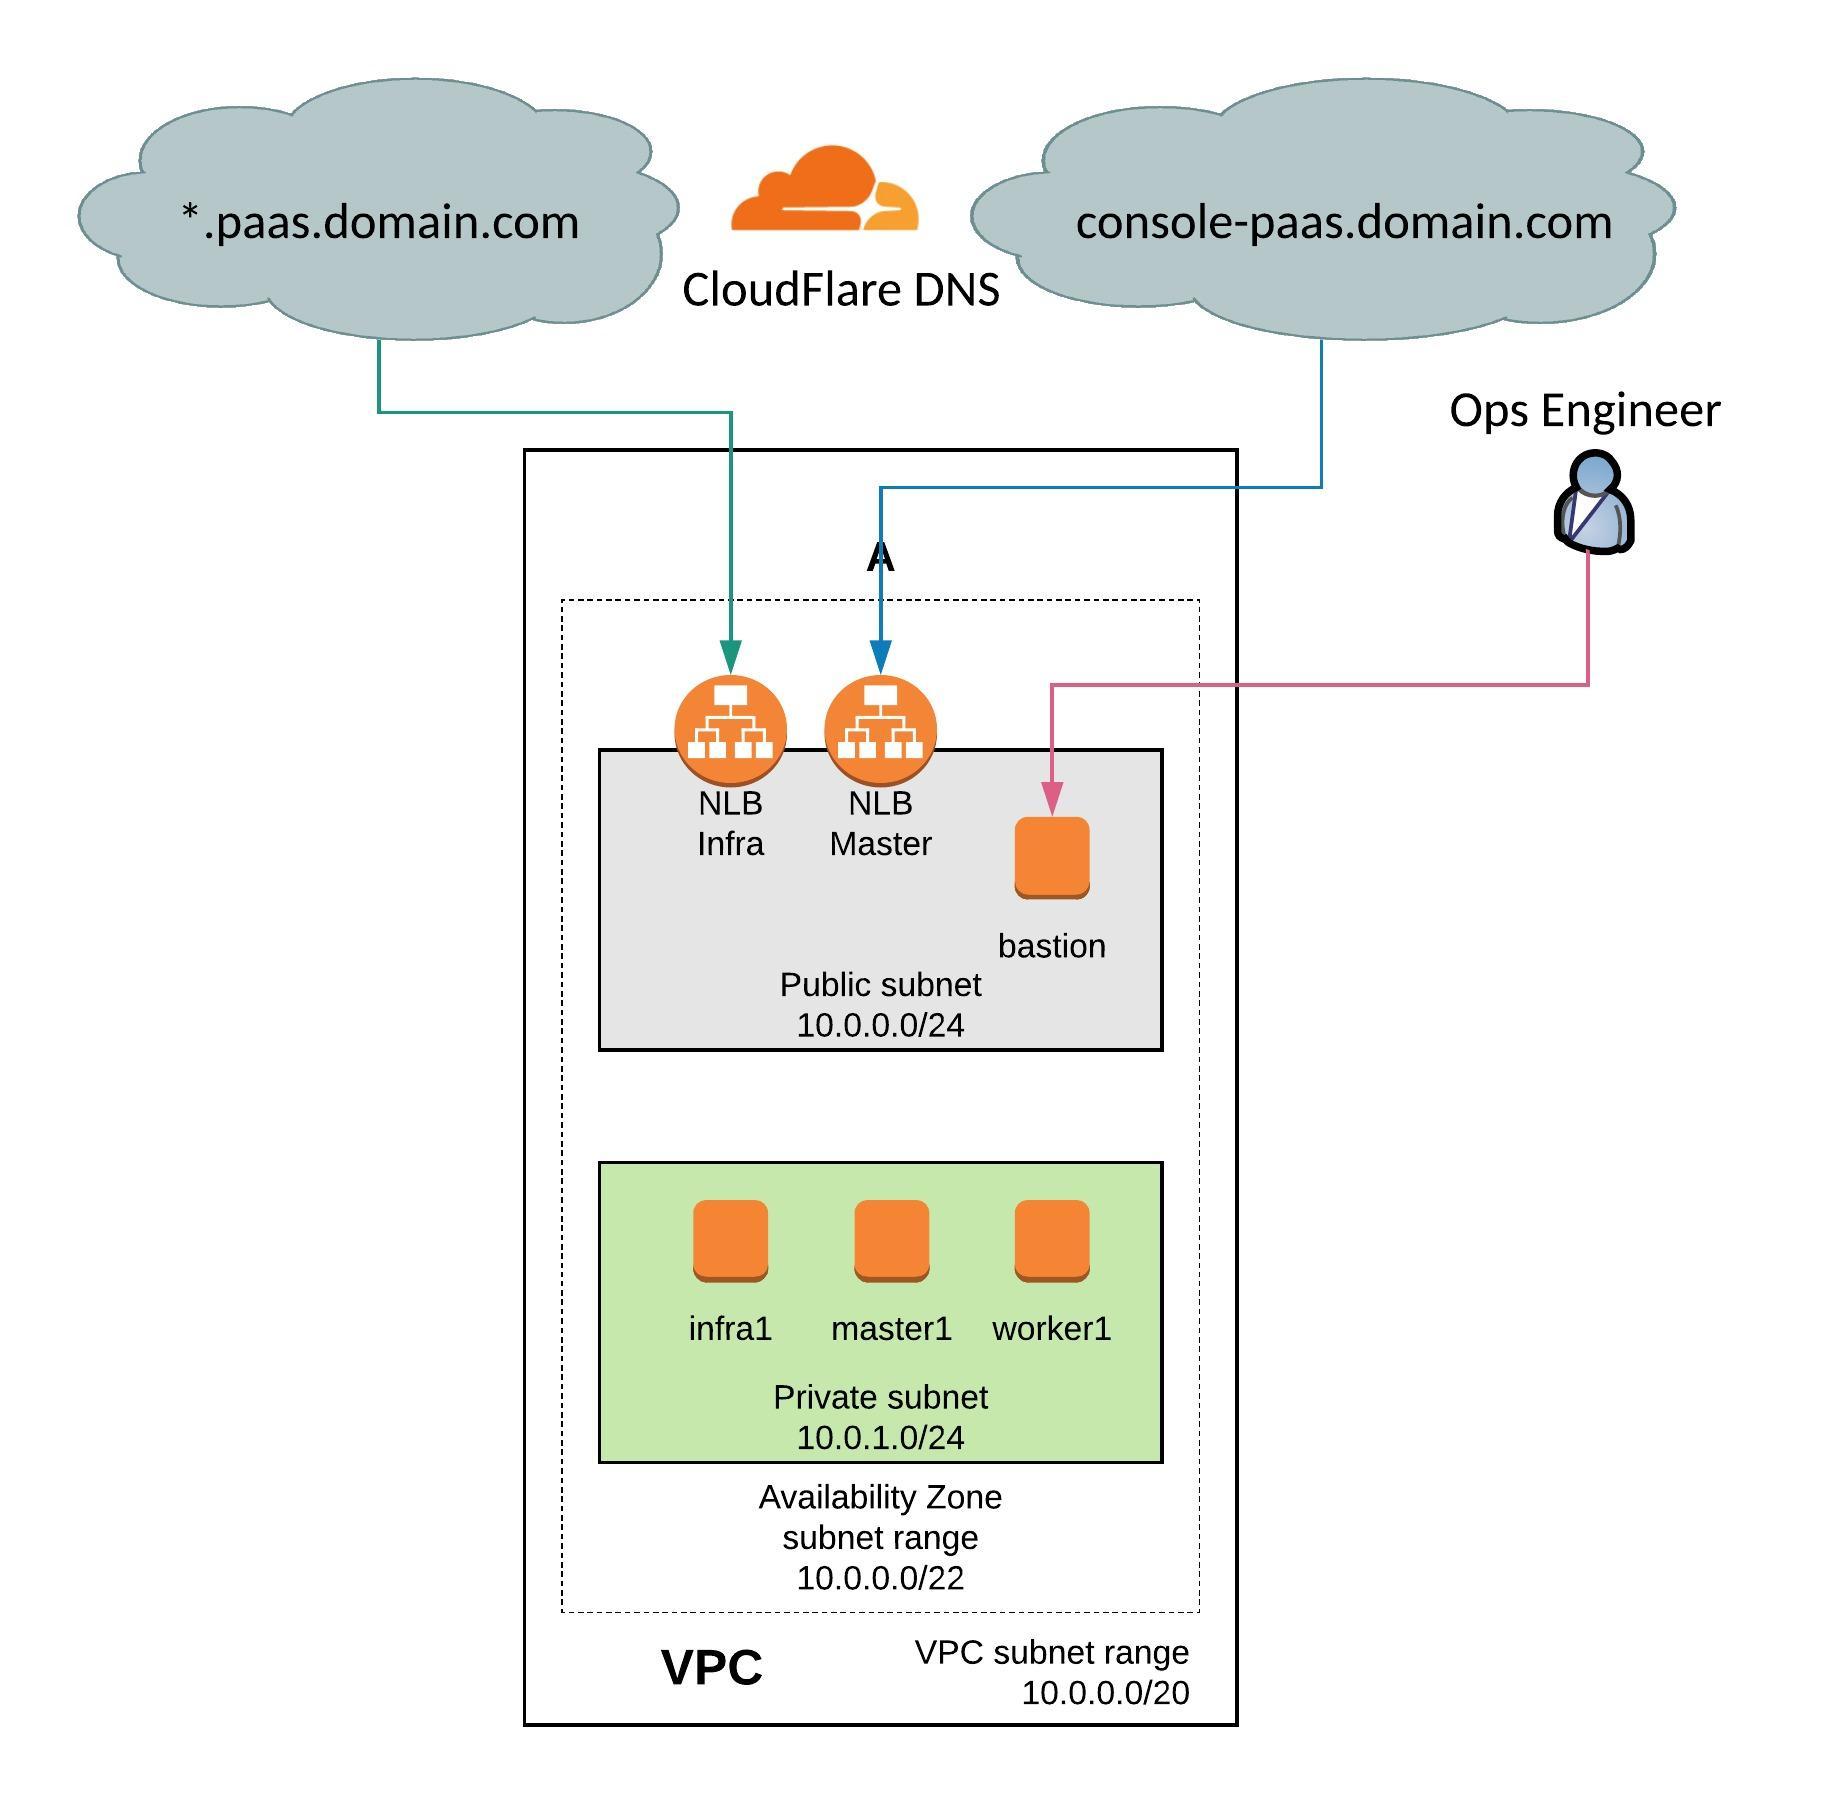
Terraform not only created all the AWS resources it also configured the necessary CNAME on CloudFlare DNS to point to the AWS load balancers.

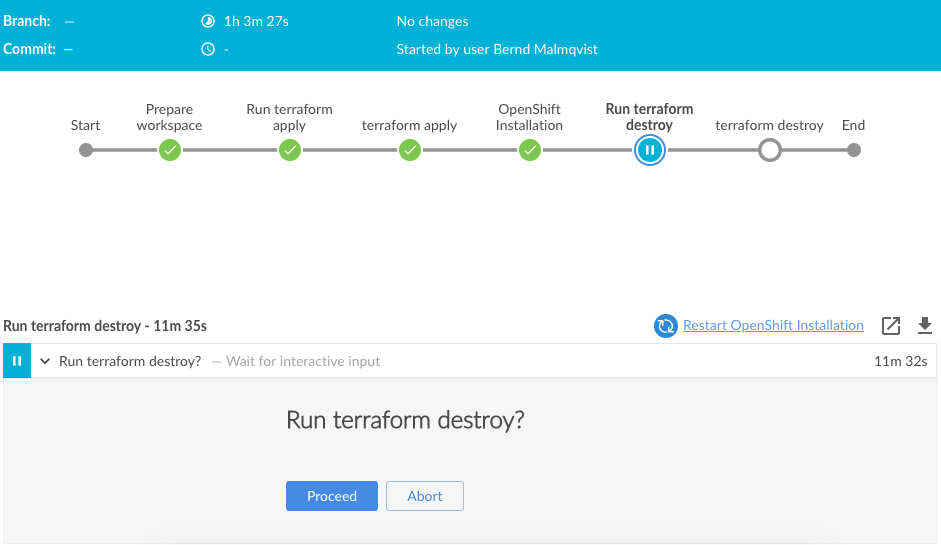
Once you are finished with your OpenShift testing you can go back into Jenkins pipeline and commit to destroy the environment again:

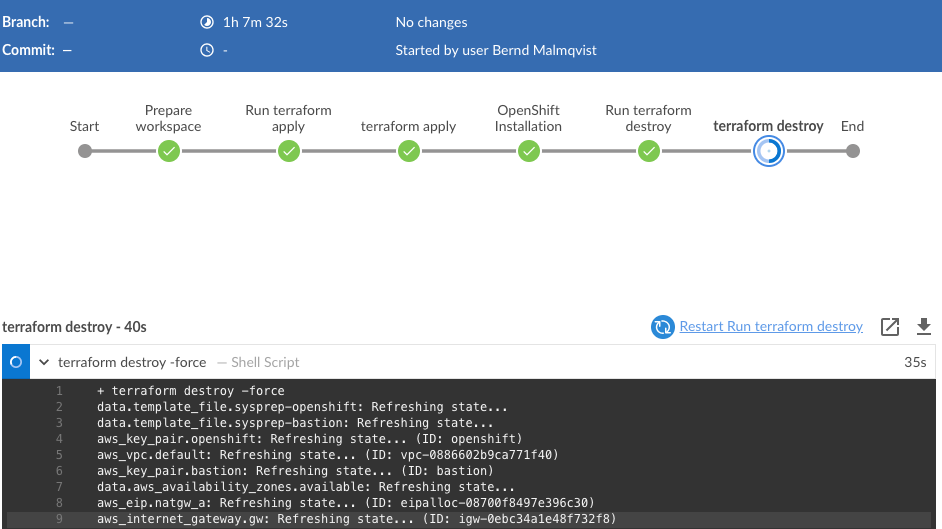
Running terraform destroy:

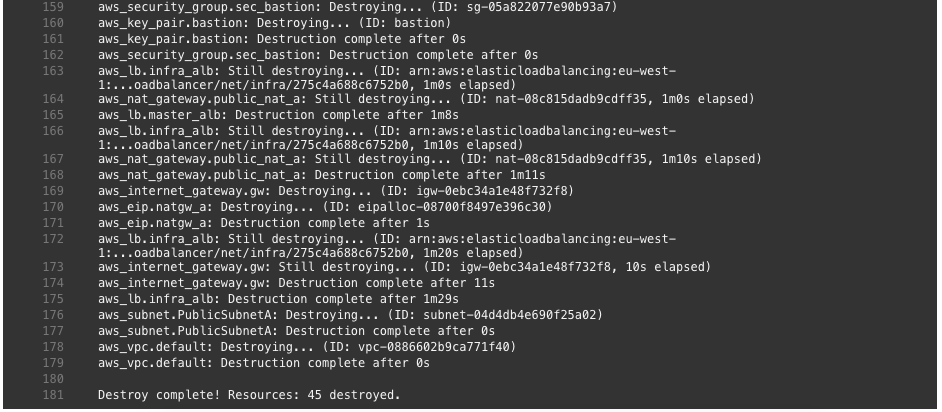
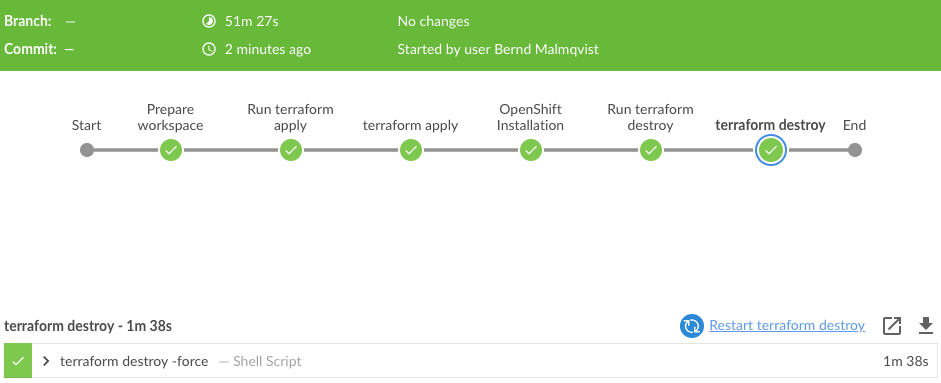
The pipeline completed successfully:

I hope this was in interesting post and let me know if you like it and want to see more of these. I am planning some improvements to integrate a validation step in the pipeline, to create a project and build, and deploy container on OpenShift automatically.

Please share your feedback and leave a comment.

Deploy OpenShift 3.11 Container Platform on AWS using Terraform

I have done a few changes on my Terraform configuration for OpenShift 3.11 on Amazon AWS. I have downsized the environment because I didn’t needed that many nodes for a quick test setup. I have added CloudFlare DNS to automatically create CNAME for the AWS load balancers on the DNS zone. I have also added an AWS S3 Bucket for storing the backend state. You can find the new Terraform configuration on my Github repository: https://github.com/berndonline/openshift-terraform/tree/aws-dev

From OpenShift 3.10 and later versions the environment variables changes and I modified the ansible-hosts template for the new configuration. You can see the changes in the hosts template: https://github.com/berndonline/openshift-terraform/blob/aws-dev/helper_scripts/ansible-hosts.template.txt

OpenShift 3.11 has changed a few things and put an focus on an Cluster Operator console which is pretty nice and runs on Kubernetes 1.11. I recommend reading the release notes for the 3.11 release for more details: https://docs.openshift.com/container-platform/3.11/release_notes/ocp_3_11_release_notes.html

I don’t wanted to get into too much detail, just follow the steps below and start with cloning my repository, and choose the dev branch:

git clone -b aws-dev https://github.com/berndonline/openshift-terraform.git
cd ./openshift-terraform/
ssh-keygen -b 2048 -t rsa -f ./helper_scripts/id_rsa -q -N ""
chmod 600 ./helper_scripts/id_rsa

You need to modify the cloudflare.tf and add your CloudFlare API credentials otherwise just delete the file. The same for the S3 backend provider, you find the configuration in the main.tf and it can be removed if not needed.

CloudFlare and Amazon AWS credentials can be added through environment variables:

export AWS_ACCESS_KEY_ID='<-YOUR-AWS-ACCESS-KEY->'
export AWS_SECRET_ACCESS_KEY='<-YOUR-AWS-SECRET-KEY->'
export TF_VAR_email='<-YOUR-CLOUDFLARE-EMAIL-ADDRESS->'
export TF_VAR_token='<-YOUR-CLOUDFLARE-TOKEN->'
export TF_VAR_domain='<-YOUR-CLOUDFLARE-DOMAIN->'
export TF_VAR_htpasswd='<-YOUR-OPENSHIFT-DEMO-USER-HTPASSWD->'

Run terraform init and apply to create the environment.

terraform init && terraform apply -auto-approve

Copy the ssh key and ansible-hosts file to the bastion host from where you need to run the Ansible OpenShift playbooks.

scp -o StrictHostKeyChecking=no -o UserKnownHostsFile=/dev/null -i ./helper_scripts/id_rsa -r ./helper_scripts/id_rsa centos@$(terraform output bastion):/home/centos/.ssh/
scp -o StrictHostKeyChecking=no -o UserKnownHostsFile=/dev/null -i ./helper_scripts/id_rsa -r ./inventory/ansible-hosts  centos@$(terraform output bastion):/home/centos/ansible-hosts

I recommend waiting a few minutes as the AWS cloud-init script prepares the bastion host. Afterwards continue with the pre and install playbooks. You can connect to the bastion host and run the playbooks directly.

ssh -o StrictHostKeyChecking=no -o UserKnownHostsFile=/dev/null -i ./helper_scripts/id_rsa -l centos $(terraform output bastion) -A "cd /openshift-ansible/ && ansible-playbook ./playbooks/openshift-pre.yml -i ~/ansible-hosts"
ssh -o StrictHostKeyChecking=no -o UserKnownHostsFile=/dev/null -i ./helper_scripts/id_rsa -l centos $(terraform output bastion) -A "cd /openshift-ansible/ && ansible-playbook ./playbooks/openshift-install.yml -i ~/ansible-hosts"

If for whatever reason the cluster deployment fails, you can run the uninstall playbook to bring the nodes back into a clean state and start from the beginning and run deploy_cluster.

ssh -o StrictHostKeyChecking=no -o UserKnownHostsFile=/dev/null -i ./helper_scripts/id_rsa -l centos $(terraform output bastion) -A "cd /openshift-ansible/ && ansible-playbook ./openshift-ansible/playbooks/adhoc/uninstall.yml -i ~/ansible-hosts"

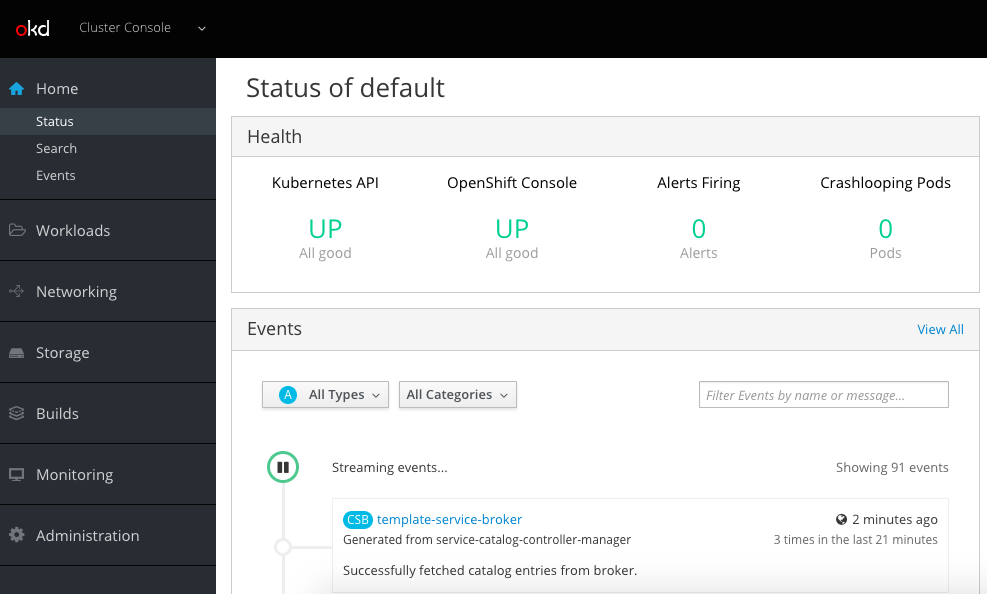
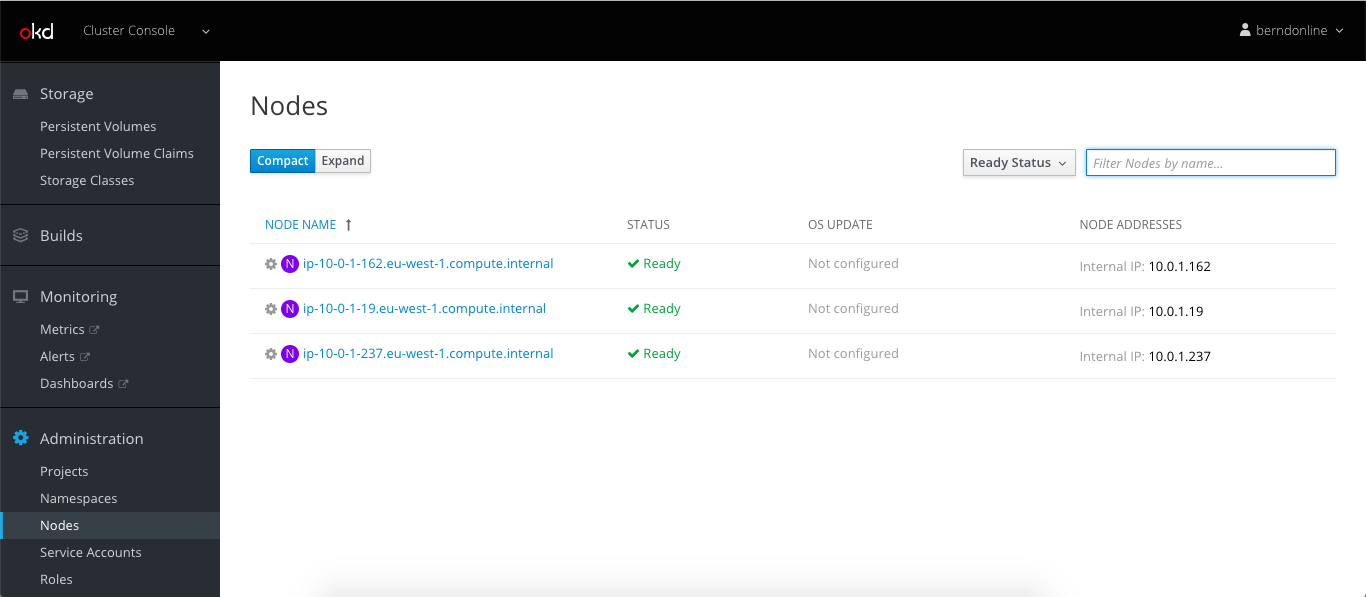
Here are some screenshots of the new cluster console:

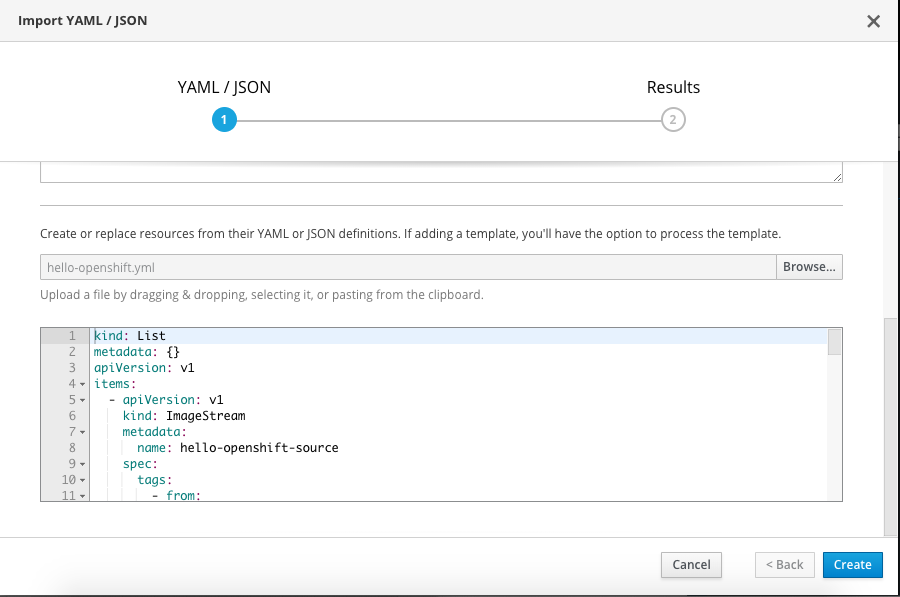
Let’s create a project and import my hello-openshift.yml build configuration:

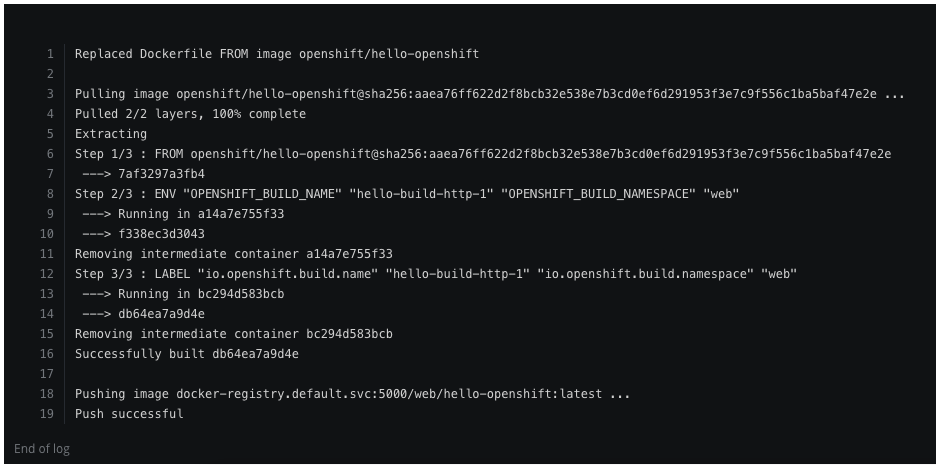
Successful completed the build and deployed the hello-openshift container:

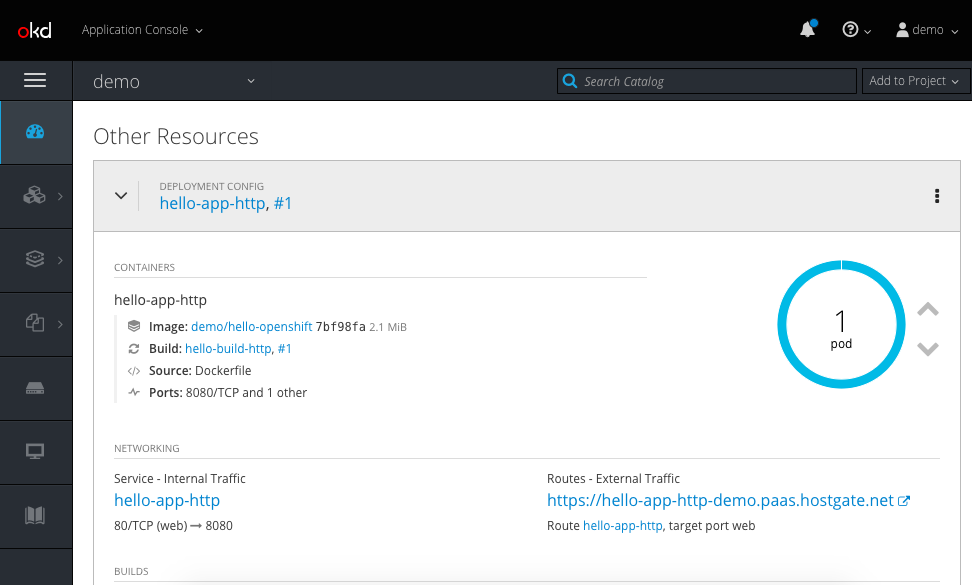
My example hello openshift application:

When you are finished with the testing, run terraform destroy.

terraform destroy -force 


Terraform CloudFlare Provider Example

This is a short article on how to create DNS records on your CloudFlare DNS zone using Terraform. I have used this in new coming article about OpenShift 3.11 on AWS. You can check out the cloudflare.tf example on my Github repository: https://github.com/berndonline/openshift-terraform/blob/aws-dev/cloudflare.tf

In the cloudflare_record configuration, the variables of the AWS ALB dns names are under resource values. This means, Terraform will start with deploying  the AWS infrastructure and create’s afterwards the specified DNS records on the CloudFlare DNS zone.

provider "cloudflare" {
  email = "[email protected]"
  token = "***YOUR-API-TOKEN***"
}
variable "domain" {
  default = "domain.com"
}
resource "cloudflare_record" "console-paas" {
  domain  = "${var.domain}"
  name    = "console-paas"
  value   = "${aws_lb.master_alb.dns_name}"
  type    = "CNAME"
  proxied = false
}
resource "cloudflare_record" "wildcard-paas" {
  domain  = "${var.domain}"
  name    = "*.paas"
  value   = "${aws_lb.infra_alb.dns_name}"
  type    = "CNAME"
  proxied = false
}

If you verify this on the CloudFlare web console, you see that Terraform created two DNS record’s and pointing to the AWS ALB dns name:

When you run terraform destroy the two DNS records will be automatically removed.

I recommend having a look at the great articles on the CloudFlare blog:

https://blog.cloudflare.com/getting-started-with-terraform-and-cloudflare-part-1/

https://blog.cloudflare.com/getting-started-with-terraform-and-cloudflare-part-2/