I have not spend much time with Google Cloud Platform because I have used mostly AWS cloud services like EKS but I wanted to give Google’s GKE – Kubernetes Engine a try to compare both offerings. My first impression is great about how easy it is to create a cluster and to enable options for NetworkPolicy or Istio Service Mesh without the need to manually install these compare to AWS EKS.
The GKE integration into the cloud offering is perfect, there is no need for a Kubernetes dashboard or custom monitoring / logging solutions, all is nicely integrated into the Google cloud services and can be used straight away once you created the cluster.
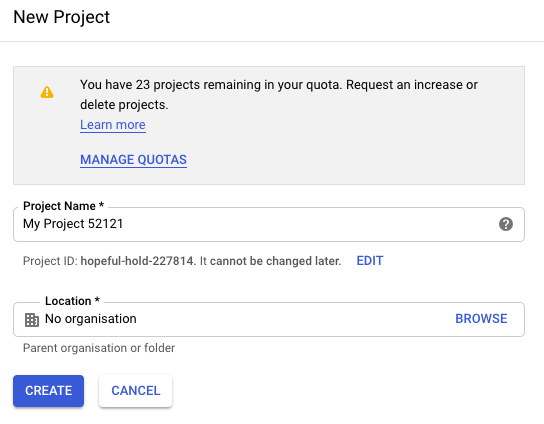
I created a new project called Kubernetes for deploying the GKE cluster. The command you see below creates a GKE cluster with the defined settings and options, and I really like the simplicity of a single command to create and manage the cluster similar like eksctl does:
gcloud beta container --project "kubernetes-xxxxxx" clusters create "cluster-1" \
  --region "europe-west1" \
  --no-enable-basic-auth \
  --cluster-version "1.15.4-gke.22" \
  --machine-type "n1-standard-2" \
  --image-type "COS" \
  --disk-type "pd-standard" \
  --disk-size "100" \
  --metadata disable-legacy-endpoints=true \
  --scopes "https://www.googleapis.com/auth/devstorage.read_only","https://www.googleapis.com/auth/logging.write","https://www.googleapis.com/auth/monitoring","https://www.googleapis.com/auth/servicecontrol","https://www.googleapis.com/auth/service.management.readonly","https://www.googleapis.com/auth/trace.append" \
  --num-nodes "1" \
  --enable-stackdriver-kubernetes \
  --enable-ip-alias \
  --network "projects/kubernetes-xxxxxx/global/networks/default" \
  --subnetwork "projects/kubernetes-xxxxxx/regions/europe-west1/subnetworks/default" \
  --default-max-pods-per-node "110" \
  --enable-network-policy \
  --addons HorizontalPodAutoscaling,HttpLoadBalancing,Istio \
  --istio-config auth=MTLS_PERMISSIVE \
  --enable-autoupgrade \
  --enable-autorepair \
  --maintenance-window-start "2019-12-29T00:00:00Z" \
  --maintenance-window-end "2019-12-30T00:00:00Z" \
  --maintenance-window-recurrence "FREQ=WEEKLY;BYDAY=MO,TU,WE,TH,FR,SA,SU" \
  --enable-vertical-pod-autoscaling
With the gcloud command you can authenticate and generate a kubeconfig file for your cluster and start using kubectl directly to deploy your applications.
gcloud beta container clusters get-credentials cluster-1 --region europe-west1 --project kubernetes-xxxxxx
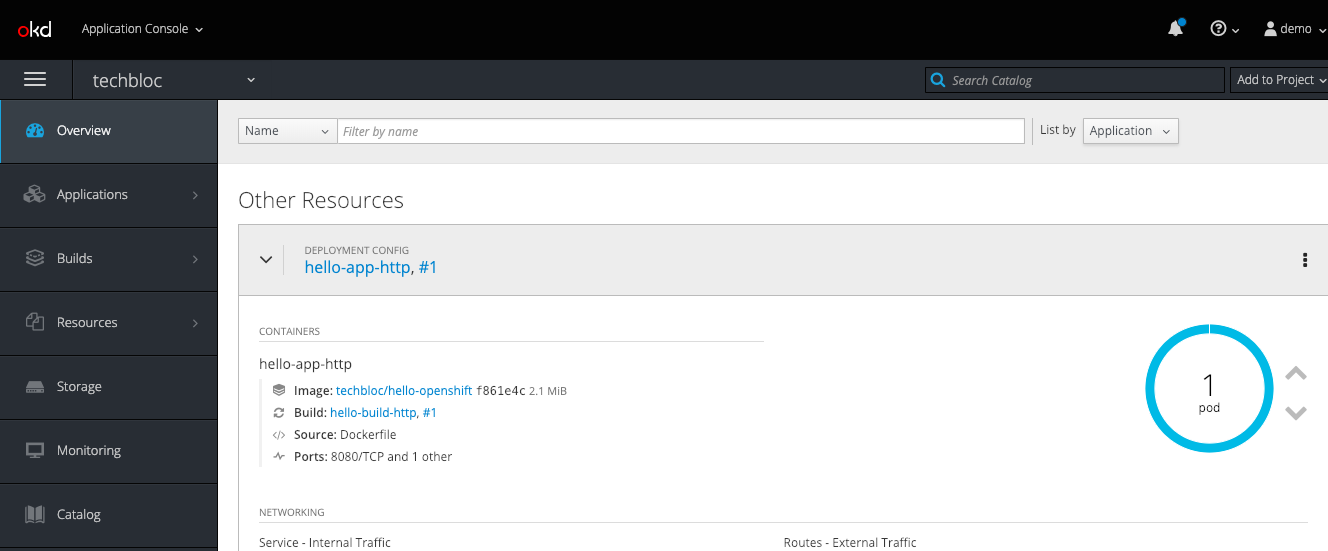
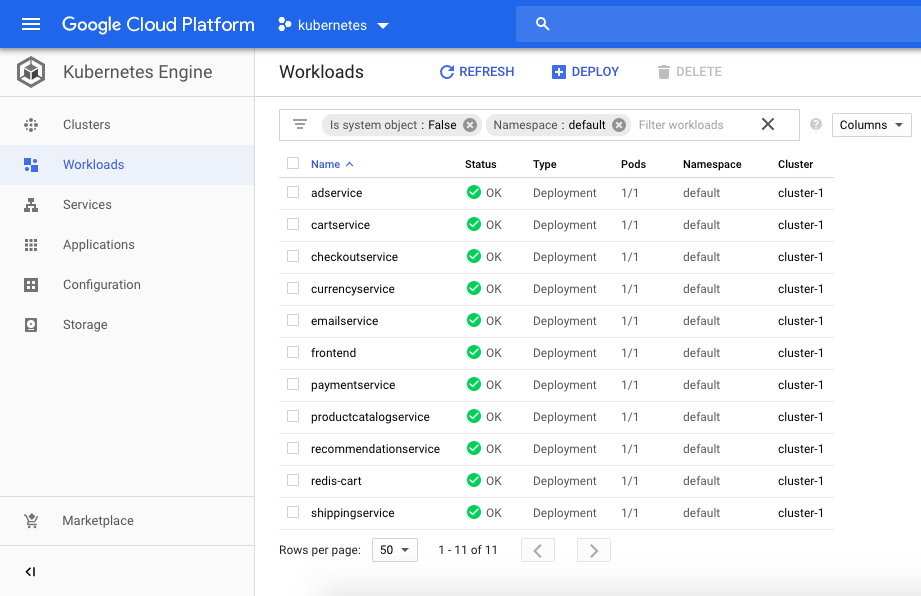
There is no need for a Kubernetes dashboard what I have mentioned because it is integrated into the Google Kubernetes Engine console. You are able to see cluster information and deployed workloads, and you are able to drill down to detailed information about running pods:
Google is offering the Kubernetes control-plane for free and which is a massive advantage for GKE because AWS on the other hand charges for the EKS control-plane around $144 per month.
You can keep your GKE control-plane running and scale down your instance pool to zero if no compute capacity is needed and scale up later if required:
# scale down node pool
gcloud container clusters resize cluster-1 --num-nodes=0 --region "europe-west1"

# scale up node pool
gcloud container clusters resize cluster-1 --num-nodes=1 --region "europe-west1"
Let’s deploy the Google microservices demo application with Istio Service Mesh enabled:
# label default namespace to inject Envoy sidecar
kubectl label namespace default istio-injection=enabled

# check istio sidecar injector label
kubectl get namespace -L istio-injection

# deploy Google microservices demo manifests
kubectl create -f https://raw.githubusercontent.com/berndonline/microservices-demo/master/kubernetes-manifests/hipster-shop.yml
kubectl create -f https://raw.githubusercontent.com/berndonline/microservices-demo/master/istio-manifests/istio.yml
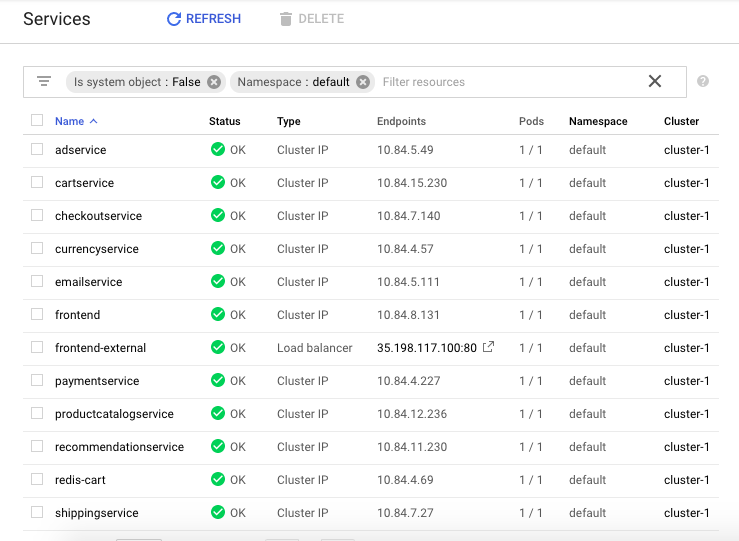
Get the public IP addresses for the frontend service and ingress gateway to connect with your browser:
# get frontend-external service IP address
kubectl get svc frontend-external --no-headers | awk '{ print $4 }'

# get istio ingress gateway service IP address
kubectl get svc istio-ingressgateway -n istio-system --no-headers | awk '{ print $4 }'

To delete the GKE cluster simply run the following gcloud command:
gcloud beta container --project "kubernetes-xxxxxx" clusters delete "cluster-1" --region "europe-west1"
Googles Kubernetes Engine is in my opinion the better offering compared to AWS EKS which seems a bit too basic.