Running WordPress on OpenShift

This here is just a simple example deploying a web application like WordPress on an OpenShift cluster.

I am doing this via the command line because it is much quicker but you can also do this via the WebUI. First, we need to log in:

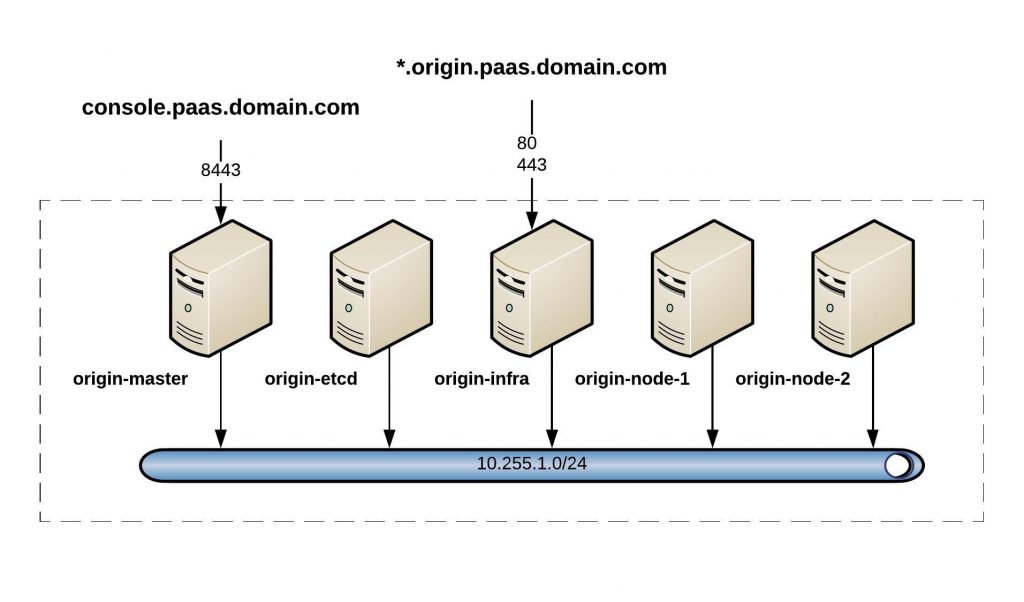
[vagrant@origin-master ~]$ oc login https://console.paas.domain.com:8443
The server is using a certificate that does not match its hostname: x509: certificate is not valid for any names, but wanted to match console.paas.domain.com
You can bypass the certificate check, but any data you send to the server could be intercepted by others.
Use insecure connections? (y/n): y

Authentication required for https://console.paas.domain.com:8443 (openshift)
Username: demo
Password:
Login successful.

You don't have any projects. You can try to create a new project, by running

    oc new-project 

[vagrant@origin-master ~]$

OpenShift tells us that we have no project, so let’s create a new project with the name testing:

[vagrant@origin-master ~]$ oc new-project testing
Now using project "testing" on server "https://console.paas.domain.com:8443".

You can add applications to this project with the 'new-app' command. For example, try:

    oc new-app centos/ruby-22-centos7~https://github.com/openshift/ruby-ex.git

to build a new example application in Ruby.
[vagrant@origin-master ~]$

After we have created the project we need to start creating the first app, in our case for WordPress we need MySQL for the database. This is just an example because the MySQL is not using persistent storage and I use sample DB information it created:

[vagrant@origin-master ~]$ oc new-app mysql-ephemeral
--> Deploying template "openshift/mysql-ephemeral" to project testing2

     MySQL (Ephemeral)
     ---------
     MySQL database service, without persistent storage. For more information about using this template, including OpenShift considerations, see https://github.com/sclorg/mysql-container/blob/master/5.7/README.md.

     WARNING: Any data stored will be lost upon pod destruction. Only use this template for testing

     The following service(s) have been created in your project: mysql.

            Username: user1M5
            Password: 5KmiOFJ4UH2UIKbG
       Database Name: sampledb
      Connection URL: mysql://mysql:3306/

     For more information about using this template, including OpenShift considerations, see https://github.com/sclorg/mysql-container/blob/master/5.7/README.md.

     * With parameters:
        * Memory Limit=512Mi
        * Namespace=openshift
        * Database Service Name=mysql
        * MySQL Connection Username=user1M5
        * MySQL Connection Password=5KmiOFJ4UH2UIKbG # generated
        * MySQL root user Password=riPsYFaVEpHBYAWf # generated
        * MySQL Database Name=sampledb
        * Version of MySQL Image=5.7

--> Creating resources ...
    secret "mysql" created
    service "mysql" created
    deploymentconfig "mysql" created
--> Success
    Application is not exposed. You can expose services to the outside world by executing one or more of the commands below:
     'oc expose svc/mysql'
    Run 'oc status' to view your app.
[vagrant@origin-master ~]$

Next, let us create a PHP app and pulling the latest WordPress install from Github.

[vagrant@origin-master ~]$ oc new-app php~https://github.com/wordpress/wordpress
-->; Found image fa73ae7 (5 days old) in image stream "openshift/php" under tag "7.0" for "php"

    Apache 2.4 with PHP 7.0
    -----------------------
    PHP 7.0 available as docker container is a base platform for building and running various PHP 7.0 applications and frameworks. PHP is an HTML-embedded scripting language. PHP attempts to make it easy for developers to write dynamically generated web pages. PHP also offers built-in database integration for several commercial and non-commercial database management systems, so writing a database-enabled webpage with PHP is fairly simple. The most common use of PHP coding is probably as a replacement for CGI scripts.

    Tags: builder, php, php70, rh-php70

    * A source build using source code from https://github.com/wordpress/wordpress will be created
      * The resulting image will be pushed to image stream "wordpress:latest"
      * Use 'start-build' to trigger a new build
    * This image will be deployed in deployment config "wordpress"
    * Ports 8080/tcp, 8443/tcp will be load balanced by service "wordpress"
      * Other containers can access this service through the hostname "wordpress"

-->; Creating resources ...
    imagestream "wordpress" created
    buildconfig "wordpress" created
    deploymentconfig "wordpress" created
    service "wordpress" created
-->; Success
    Build scheduled, use 'oc logs -f bc/wordpress' to track its progress.
    Application is not exposed. You can expose services to the outside world by executing one or more of the commands below:
     'oc expose svc/wordpress'
    Run 'oc status' to view your app.
[vagrant@origin-master ~]$

Last but not least I need to expose the PHP WordPress app:

[vagrant@origin-master ~]$ oc expose service wordpress
route "wordpress" exposed
[vagrant@origin-master ~]$

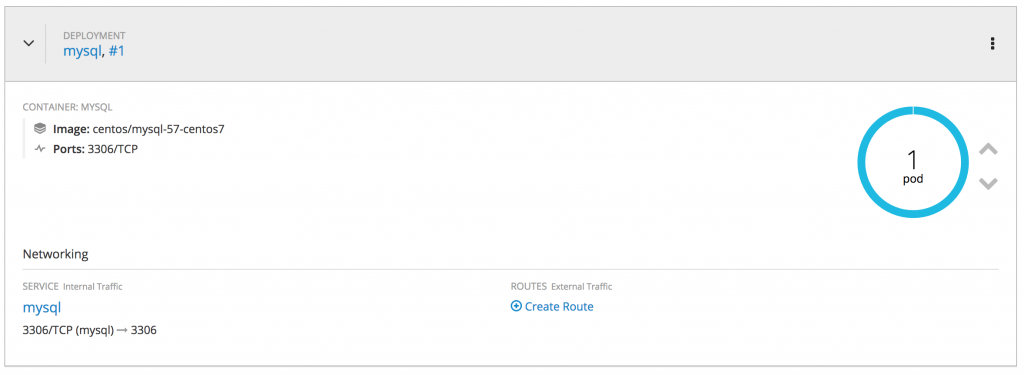
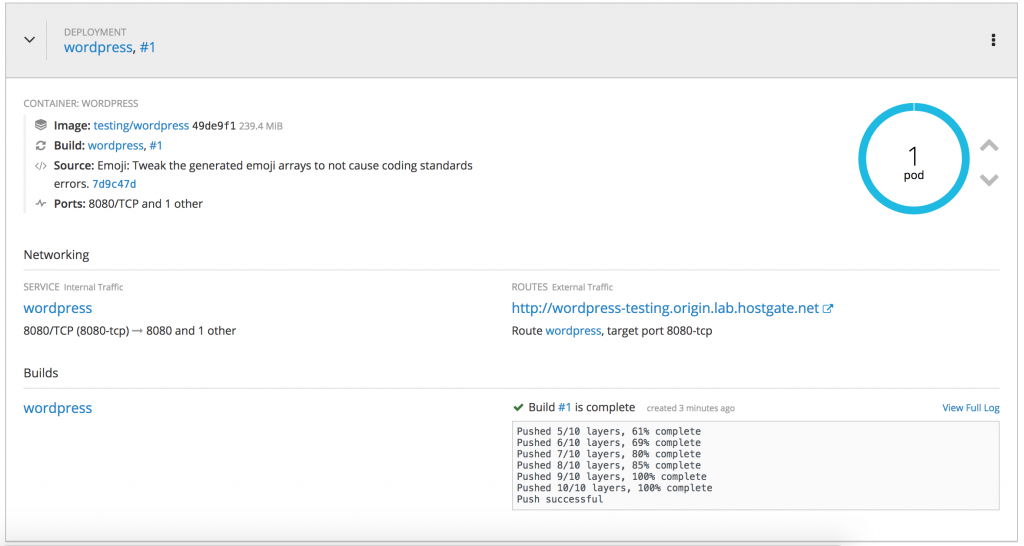
Here is a short overview of how it looks in the OpenShift web console, you see the deployed MySQL pod and the PHP pod which run WordPress:

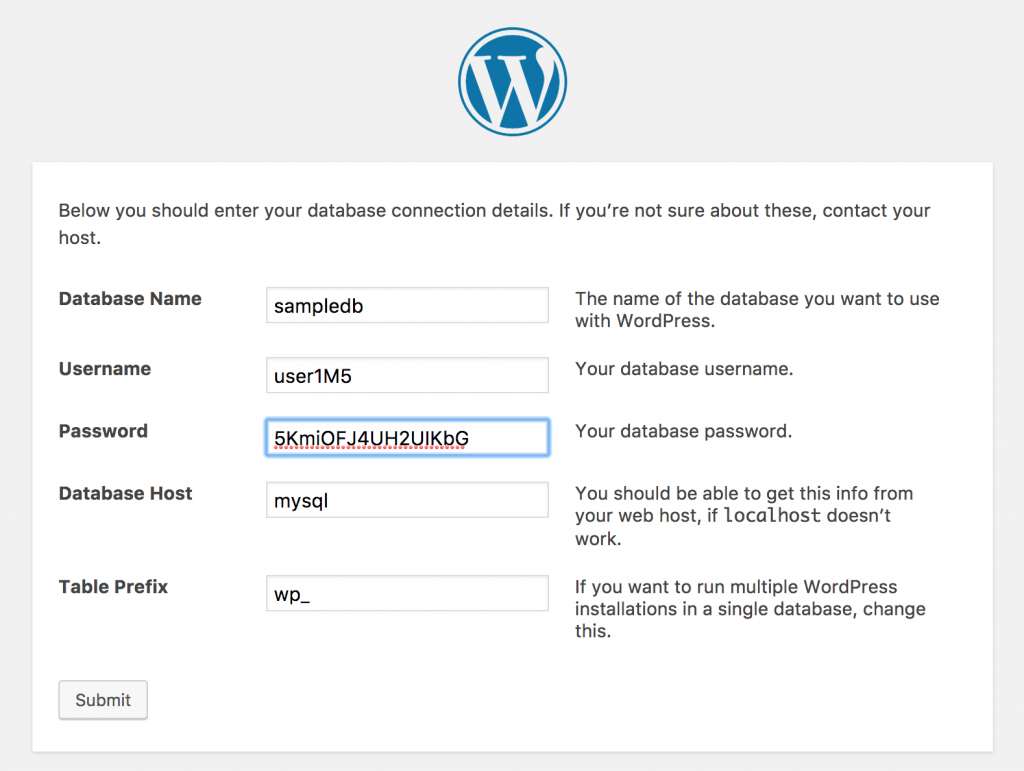
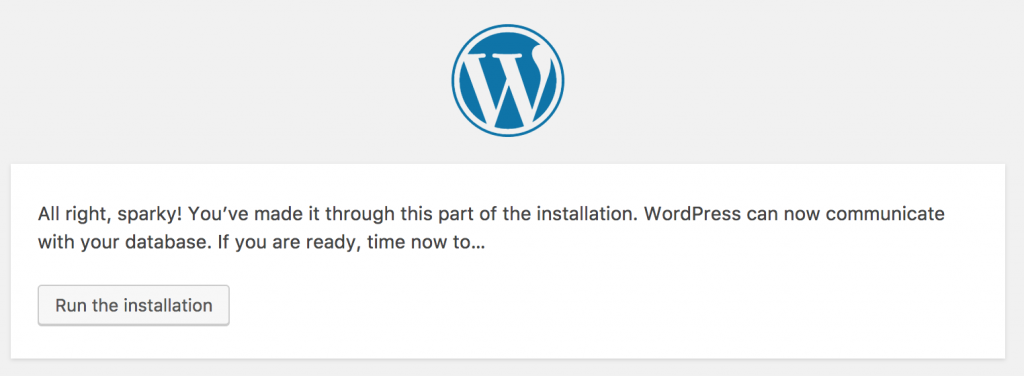
Next, you open the URL http://wordpress-testing.paas.domain.com/ and see the WordPress install menu where you start configuring the database connection using the info I got from OpenShift when I created the MySQL pod:

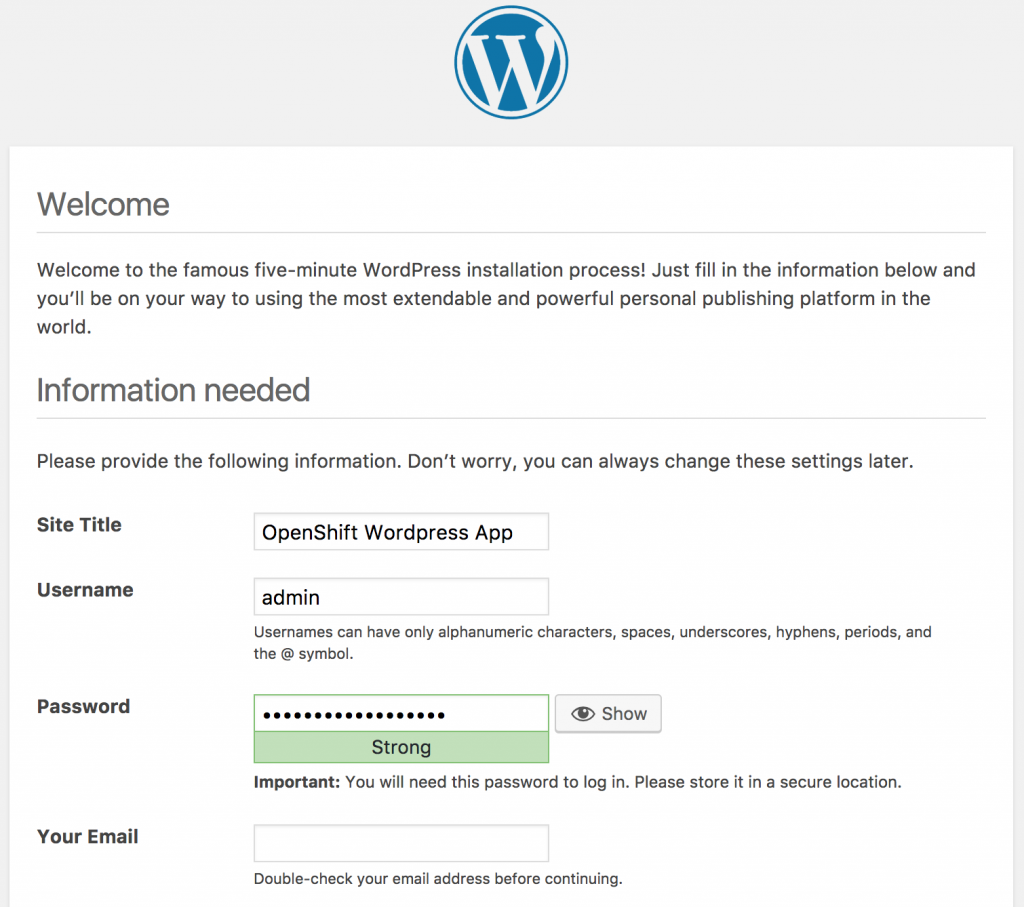
I can customise the DB connection settings if I want to have a more permanent solution:

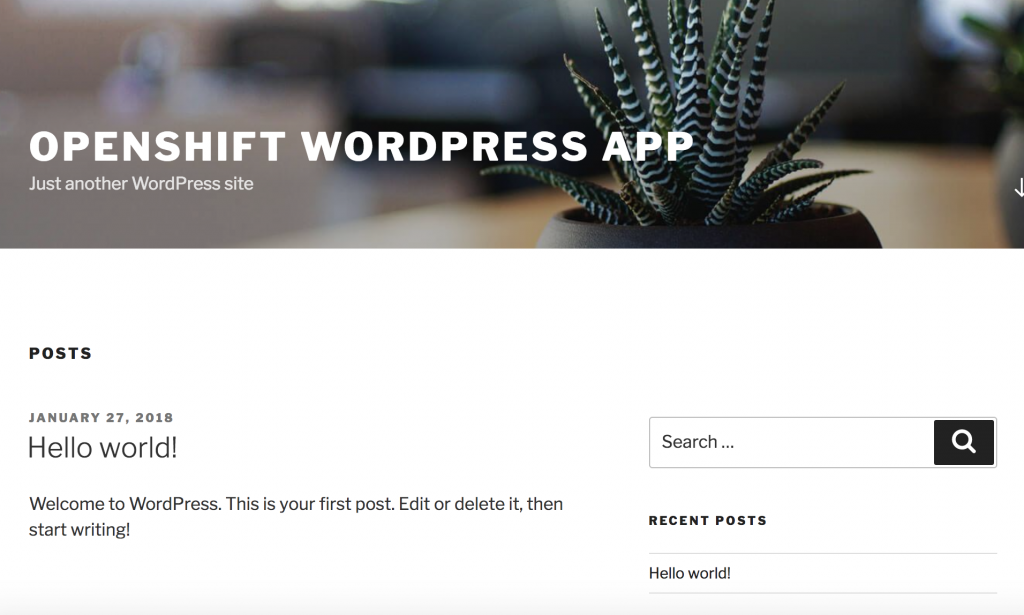
A voilà, your WordPress is deployed in OpenShift:

This is just a very simple example but it took me less than a minute to deploy the web application. Read also my other post about Deploying OpenShift Origin Cluster using Ansible.

Please share your feedback.

Leave a comment

Deploy OpenShift 3.7 Origin Cluster with Ansible

Something completely different to my more network related posts, this time it is about Platform as a Service with OpenShift Origin. There is a big push for containerized platform services from development.

I was testing the official OpenShift Origin Ansible Playbook to install a small 5 node cluster and created an OpenShift Vagrant environment for this.

Cluster overview:

I recommend having a look at the official RedHat OpenShift documentation to understand the architecture because it is quite a complex platform.

As a pre-requisite, you need to install the vagrant hostmanager because Openshift needs to resolve hostnames and I don’t want to install a separate DNS server. Here you find more information: https://github.com/devopsgroup-io/vagrant-hostmanager

vagrant plugin install vagrant-hostmanager

sudo bash -c 'cat << EOF > /etc/sudoers.d/vagrant_hostmanager2
Cmnd_Alias VAGRANT_HOSTMANAGER_UPDATE = /bin/cp <your-home-folder>/.vagrant.d/tmp/hosts.local /etc/hosts
%sudo ALL=(root) NOPASSWD: VAGRANT_HOSTMANAGER_UPDATE
EOF'

Next, clone my Vagrant repository and the official OpenShift Origin ansible:

git clone [email protected]:berndonline/openshift-origin-vagrant.git
git clone [email protected]:openshift/openshift-ansible.git

Let’s start first by booting the OpenShift vagrant environment:

cd openshift-origin-vagrant/
./vagrant_up.sh

The vagrant host manager will update dynamically the /etc/hosts file on both the Guest and the Host machine:

...
## vagrant-hostmanager-start id: 55ed9acf-25e9-4b19-bfab-e0812a292dc0
10.255.1.81	origin-master

10.255.1.231	origin-etcd

10.255.1.182	origin-infra

10.255.1.72	origin-node-1

10.255.1.145	origin-node-2

## vagrant-hostmanager-end
...

Let’s have a quick look at the OpenShift inventory file. This has settings for the different node types and custom OpenShift and Vagrant variables. You need to modify a few things like public hostname and default subdomain:

OSEv3:children]
masters
nodes
etcd

[OSEv3:vars]
ansible_ssh_user=vagrant
ansible_become=yes

deployment_type=origin
openshift_release=v3.7.0
containerized=true
openshift_install_examples=true
enable_excluders=false
openshift_check_min_host_memory_gb=4
openshift_disable_check=docker_image_availability,docker_storage,disk_availability

# use htpasswd authentication with demo/demo
openshift_master_identity_providers=[{'name': 'htpasswd_auth', 'login': 'true', 'challenge': 'true', 'kind': 'HTPasswdPasswordIdentityProvider', 'filename': '/etc/origin/master/htpasswd'}]
openshift_master_htpasswd_users={'demo': '$apr1$.MaA77kd$Rlnn6RXq9kCjnEfh5I3w/.'}

# put the router on dedicated infra node
openshift_hosted_router_selector='region=infra'
openshift_master_default_subdomain=origin.paas.domain.com

# put the image registry on dedicated infra node
openshift_hosted_registry_selector='region=infra'

# project pods should be placed on primary nodes
osm_default_node_selector='region=primary'

# Vagrant variables
ansible_port='22' 
ansible_user='vagrant'
ansible_ssh_private_key_file='/home/berndonline/.vagrant.d/insecure_private_key'

[masters]
origin-master  openshift_public_hostname="console.paas.domain.com"

[etcd]
origin-etcd

[nodes]
# master needs to be included in the node to be configured in the SDN
origin-master
origin-infra openshift_node_labels="{'region': 'infra', 'zone': 'default'}"
origin-node-[1:2] openshift_node_labels="{'region': 'primary', 'zone': 'default'}"

Now that we are ready, we need to check out the latest release and execute the Ansible Playbook:

cd openshift-ansible/
git checkout release-3.7
ansible-playbook ./playbooks/byo/config.yml -i ../openshift-origin-vagrant/inventory

The playbook takes forever to run, so do something else for the next 10 to 15 mins.

...

PLAY RECAP **********************************************************************************************************************************************************
localhost                  : ok=13   changed=0    unreachable=0    failed=0
origin-etcd                : ok=147  changed=47   unreachable=0    failed=0
origin-infra               : ok=202  changed=61   unreachable=0    failed=0
origin-master              : ok=561  changed=224  unreachable=0    failed=0
origin-node                : ok=201  changed=61   unreachable=0    failed=0


INSTALLER STATUS ****************************************************************************************************************************************************
Initialization             : Complete
Health Check               : Complete
etcd Install               : Complete
Master Install             : Complete
Master Additional Install  : Complete
Node Install               : Complete
Hosted Install             : Complete
Service Catalog Install    : Complete

Sunday 21 January 2018  20:55:16 +0100 (0:00:00.011)       0:11:56.549 ********
===============================================================================
etcd : Pull etcd container ---------------------------------------------------------------------------------------------------------------------------------- 79.51s
openshift_hosted : Ensure OpenShift pod correctly rolls out (best-effort today) ----------------------------------------------------------------------------- 31.54s
openshift_node : Pre-pull node image when containerized ----------------------------------------------------------------------------------------------------- 31.28s
template_service_broker : Verify that TSB is running -------------------------------------------------------------------------------------------------------- 30.87s
docker : Install Docker ------------------------------------------------------------------------------------------------------------------------------------- 30.41s
docker : Install Docker ------------------------------------------------------------------------------------------------------------------------------------- 26.32s
openshift_cli : Pull CLI Image ------------------------------------------------------------------------------------------------------------------------------ 23.03s
openshift_service_catalog : wait for api server to be ready ------------------------------------------------------------------------------------------------- 21.32s
openshift_hosted : Ensure OpenShift pod correctly rolls out (best-effort today) ----------------------------------------------------------------------------- 16.27s
restart master api ------------------------------------------------------------------------------------------------------------------------------------------ 10.69s
restart master controllers ---------------------------------------------------------------------------------------------------------------------------------- 10.62s
openshift_node : Start and enable node ---------------------------------------------------------------------------------------------------------------------- 10.42s
openshift_node : Start and enable node ---------------------------------------------------------------------------------------------------------------------- 10.30s
openshift_master : Start and enable master api on first master ---------------------------------------------------------------------------------------------- 10.21s
openshift_master : Start and enable master controller service ----------------------------------------------------------------------------------------------- 10.19s
os_firewall : Install iptables packages --------------------------------------------------------------------------------------------------------------------- 10.15s
os_firewall : Wait 10 seconds after disabling firewalld ----------------------------------------------------------------------------------------------------- 10.07s
os_firewall : need to pause here, otherwise the iptables service starting can sometimes cause ssh to fail --------------------------------------------------- 10.05s
openshift_node : Pre-pull node image when containerized ------------------------------------------------------------------------------------------------------ 7.85s
openshift_service_catalog : oc_process ----------------------------------------------------------------------------------------------------------------------- 7.44s

To publish both the openshift_public_hostname and openshift_master_default_subdomain, I have a Nginx reverse proxy running and publish 8443 from the origin-master and 80, 443 from the origin-infra nodes.

Here a Nginx example:

server {
  listen 8443 ssl;
  listen [::]:8443 ssl;
  server_name console.paas.domain.com;

  ssl on;
  ssl_certificate /etc/nginx/ssl/paas.domain.com-cert.pem;
  ssl_certificate_key /etc/nginx/ssl/paas.domain.com-key.pem;

  access_log  /var/log/nginx/openshift-console_access.log;
  error_log   /var/log/nginx/openshift-console_error.log;

location / {
  proxy_pass https://10.255.1.81:8443;
  proxy_http_version 1.1;
  proxy_set_header Upgrade $http_upgrade;
  proxy_set_header Connection 'upgrade';
  proxy_set_header Host $host;
  proxy_cache_bypass $http_upgrade;

  }
}

I will try to write more about OpenShift and Platform as a Service and how to deploy small applications like WordPress.

Have fun testing OpenShift and please share your feedback.

Leave a comment