This is the next article about using Terraform to create EC2 autoscaling group and the different load balancing options for EC2 instances. This setup depends on my previous blog post about using Terraform to deploy a AWS VPC so please read this first. In my Github repository you will find all the needed Terraform files ec2.tf and vpc.tf to deploy the full environment.
EC2 resource overview:
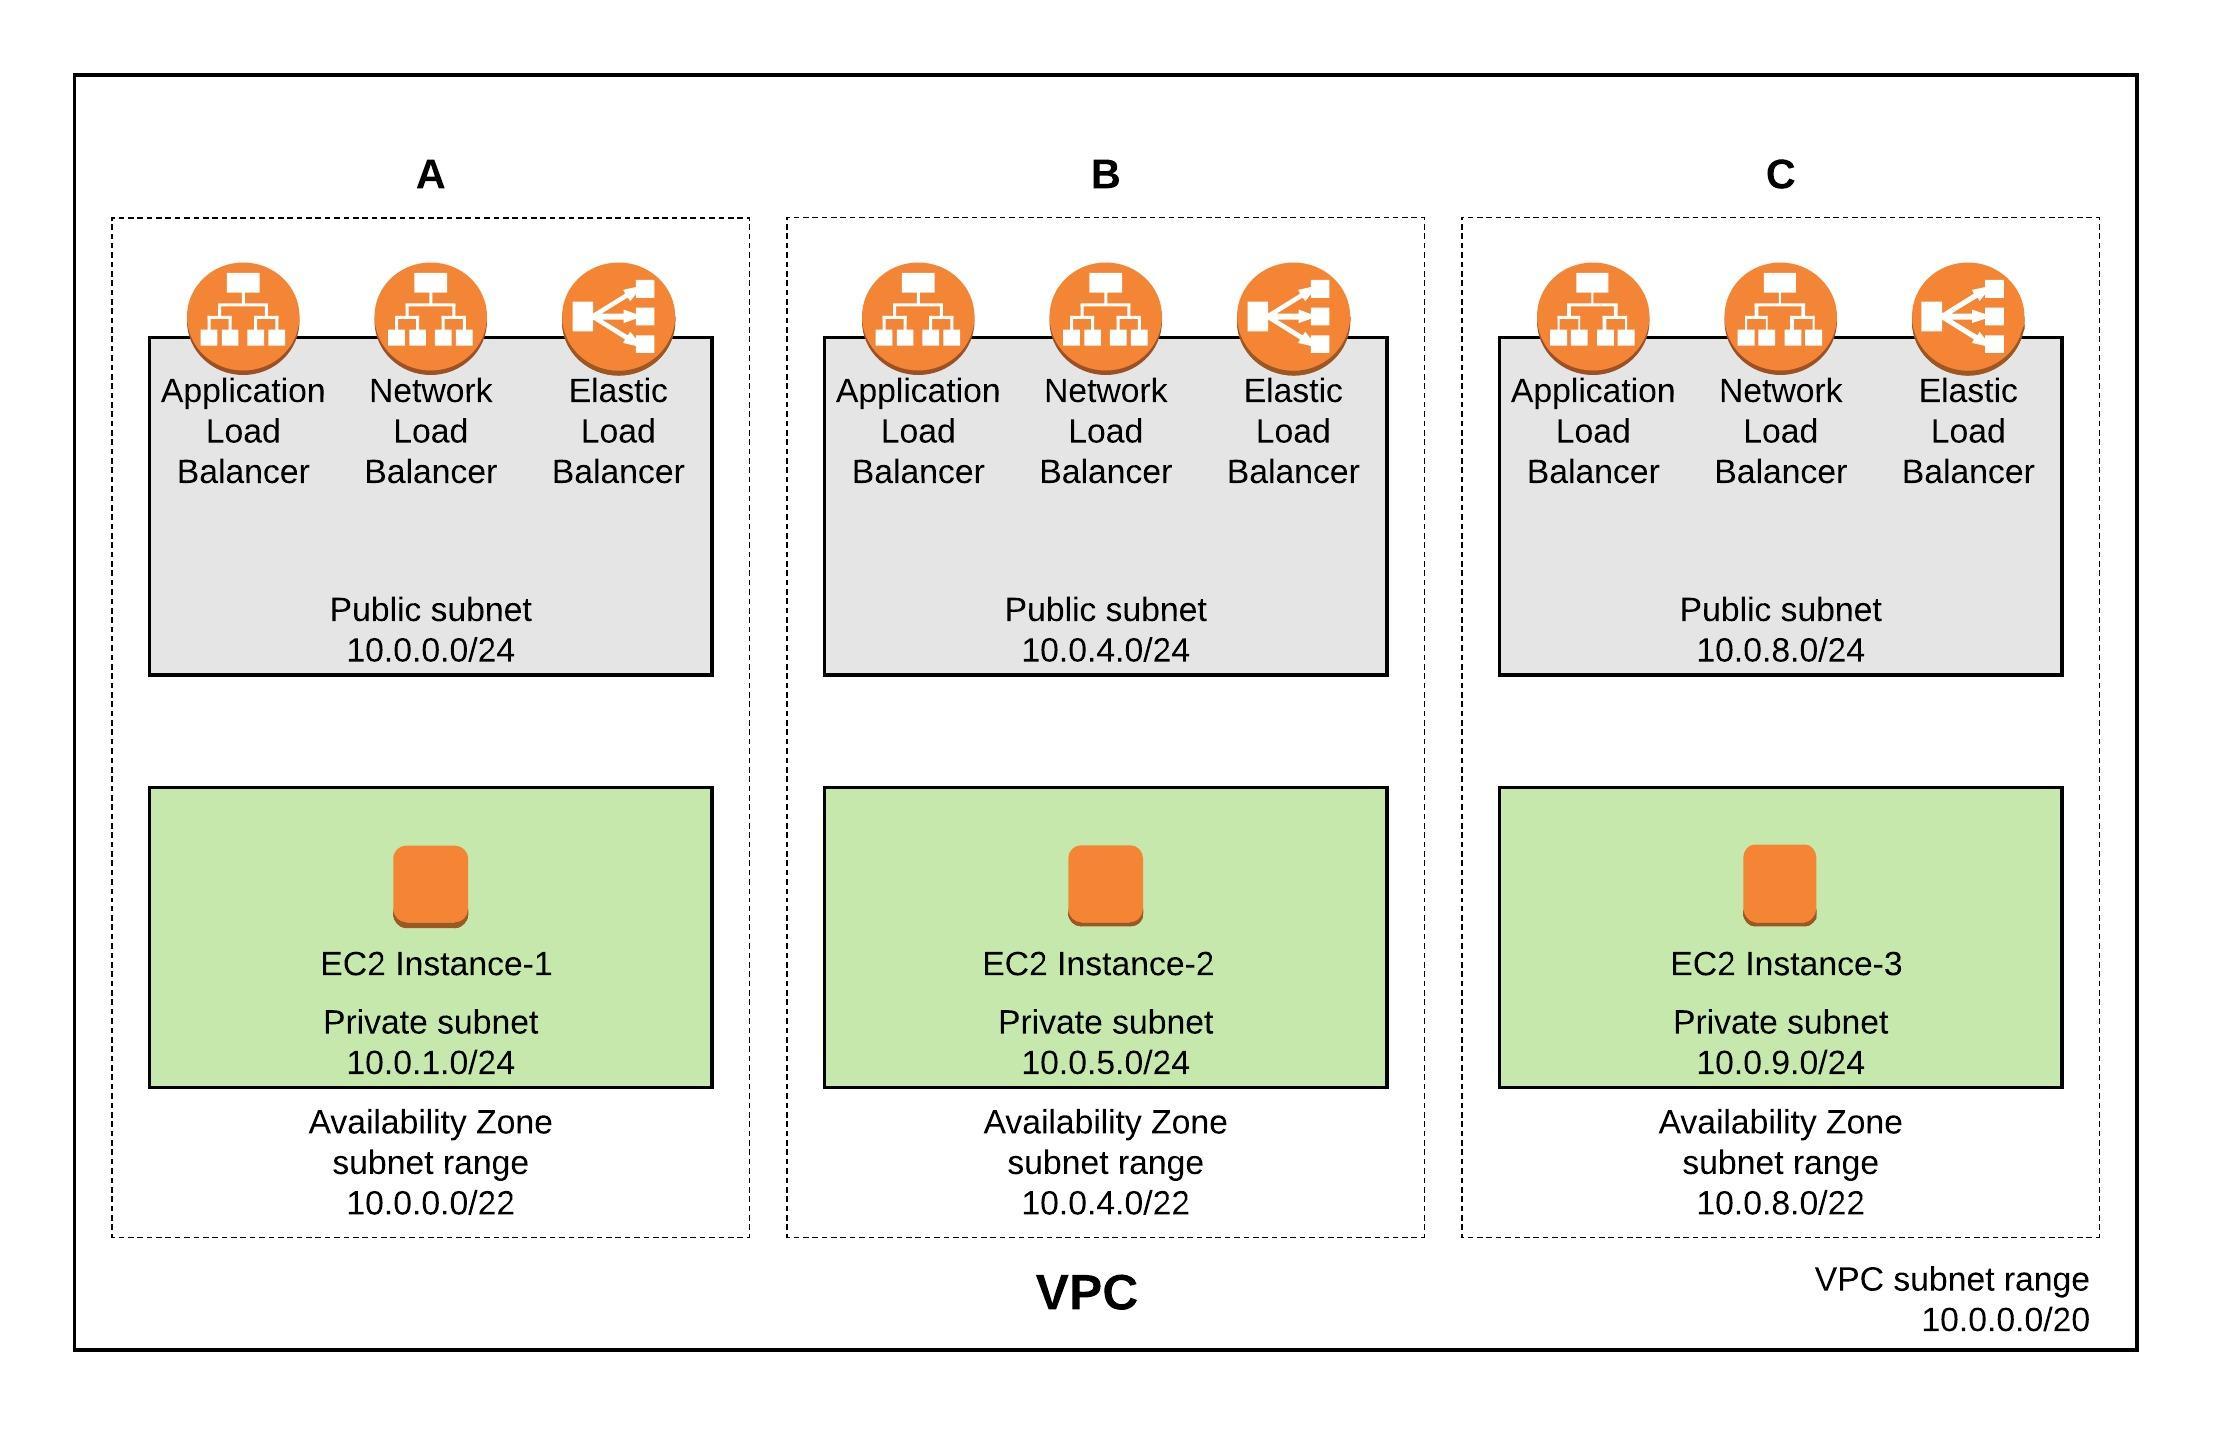
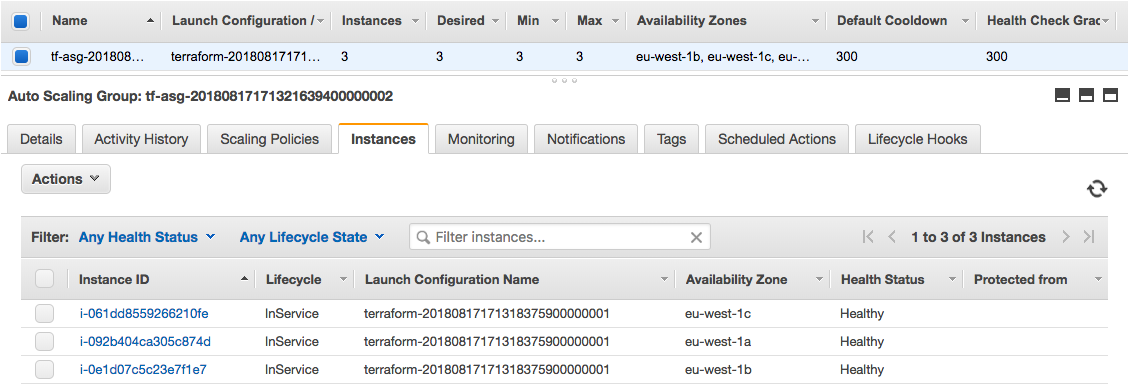
Let’s start with the launch configuration and creating the autoscaling group. I am using eu-west-1 and a standard Ubuntu 16.04 AMI. The instances are created in the private subnet and don’t get a public IP address assigned but have internet access via the NAT gateway:
resource "aws_launch_configuration" "autoscale_launch" {
  image_id = "${lookup(var.aws_amis, var.aws_region)}"
  instance_type = "t2.micro"
  security_groups = ["${aws_security_group.sec_web.id}"]
  key_name = "${aws_key_pair.auth.id}"
  user_data = <<-EOF
              #!/bin/bash
              sudo apt-get -y update
              sudo apt-get -y install nginx
              EOF
  lifecycle {
    create_before_destroy = true
  }
}

resource "aws_autoscaling_group" "autoscale_group" {
  launch_configuration = "${aws_launch_configuration.autoscale_launch.id}"
  vpc_zone_identifier = ["${aws_subnet.PrivateSubnetA.id}","${aws_subnet.PrivateSubnetB.id}","${aws_subnet.PrivateSubnetC.id}"]
  load_balancers = ["${aws_elb.elb.name}"]
  min_size = 3
  max_size = 3
  tag {
    key = "Name"
    value = "autoscale"
    propagate_at_launch = true
  }
}
I also created a few security groups to allow the traffic, please have look for more detail in the ec2.tf.
Autoscaling Group
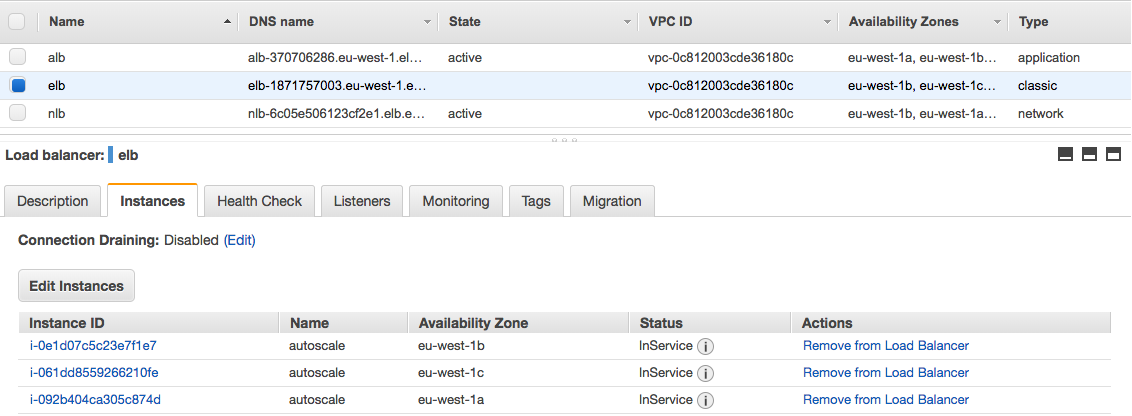
Now the configuration for a AWS Elastic (Classic) Load Balancer:
resource "aws_elb" "elb" {
  name = "elb"
  security_groups = ["${aws_security_group.sec_lb.id}"]
  subnets            = ["${aws_subnet.PublicSubnetA.id}","${aws_subnet.PublicSubnetB.id}","${aws_subnet.PublicSubnetC.id}"]
  cross_zone_load_balancing   = true
  health_check {
    healthy_threshold = 2
    unhealthy_threshold = 2
    timeout = 3
    interval = 30
    target = "HTTP:80/"
  }
  listener {
    lb_port = 80
    lb_protocol = "http"
    instance_port = "80"
    instance_protocol = "http"
  }
}
Elastic Load Balancer (Classic LB)
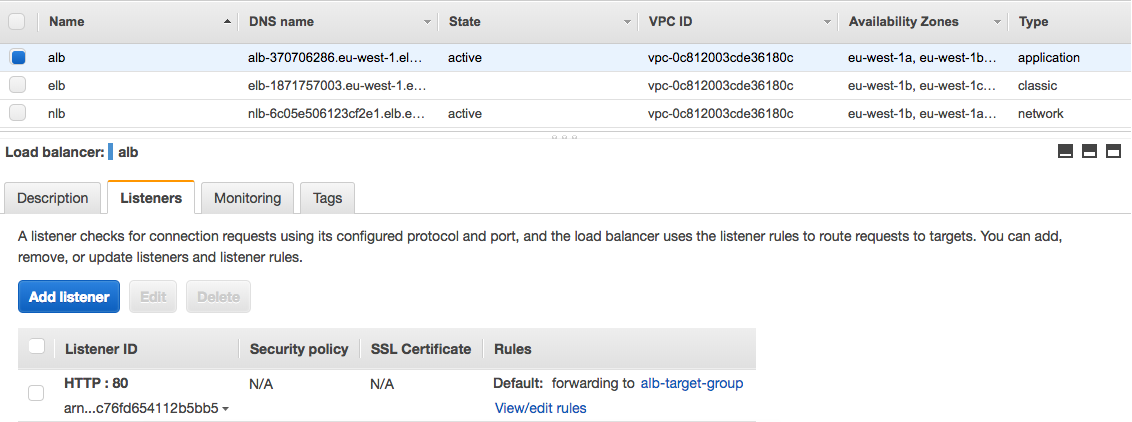
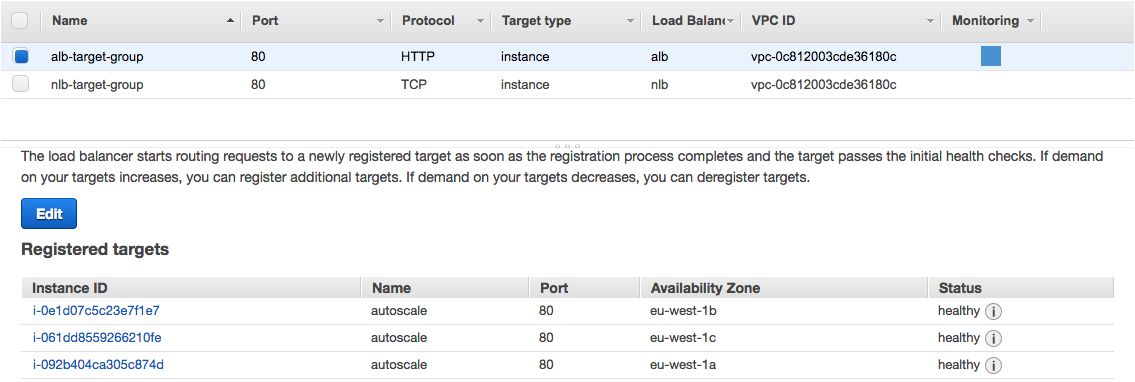
Use the Application Load Balancing (ALB) for more advanced web load balancing which only support http and https protocols. You start with creating the ALB resource, afterwards creating the target group where you can define stickiness and health checks. The listener defines which protocol type the ALB uses and assigns the target group. In the end you attach the target- with the autoscaling group:
resource "aws_lb" "alb" {
  name            = "alb"
  subnets         = ["${aws_subnet.PublicSubnetA.id}","${aws_subnet.PublicSubnetB.id}","${aws_subnet.PublicSubnetC.id}"]
  security_groups = ["${aws_security_group.sec_lb.id}"]
  internal        = false
  idle_timeout    = 60
  tags {
    Name    = "alb"
  }
}

resource "aws_lb_target_group" "alb_target_group" {
  name     = "alb-target-group"
  port     = "80"
  protocol = "HTTP"
  vpc_id   = "${aws_vpc.default.id}"
  tags {
    name = "alb_target_group"
  }
  stickiness {
    type            = "lb_cookie"
    cookie_duration = 1800
    enabled         = true
  }
  health_check {
    healthy_threshold   = 3
    unhealthy_threshold = 10
    timeout             = 5
    interval            = 10
    path                = "/"
    port                = 80
  }
}

resource "aws_lb_listener" "alb_listener" {
  load_balancer_arn = "${aws_lb.alb.arn}"
  port              = 80
  protocol          = "http"

  default_action {
    target_group_arn = "${aws_lb_target_group.alb_target_group.arn}"
    type             = "forward"
  }
}

resource "aws_autoscaling_attachment" "alb_autoscale" {
  alb_target_group_arn   = "${aws_lb_target_group.alb_target_group.arn}"
  autoscaling_group_name = "${aws_autoscaling_group.autoscale_group.id}"
}
Application Load Balancer (ALB)
ALB Target Group
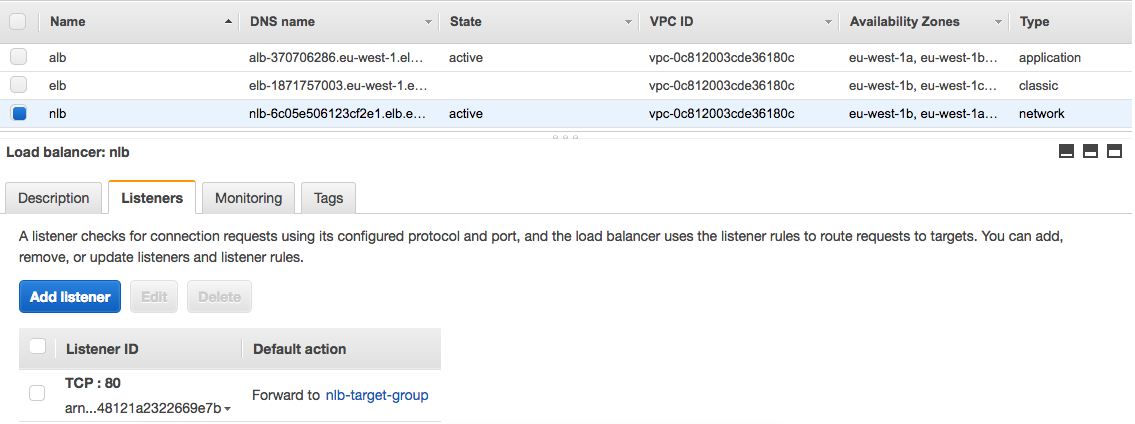
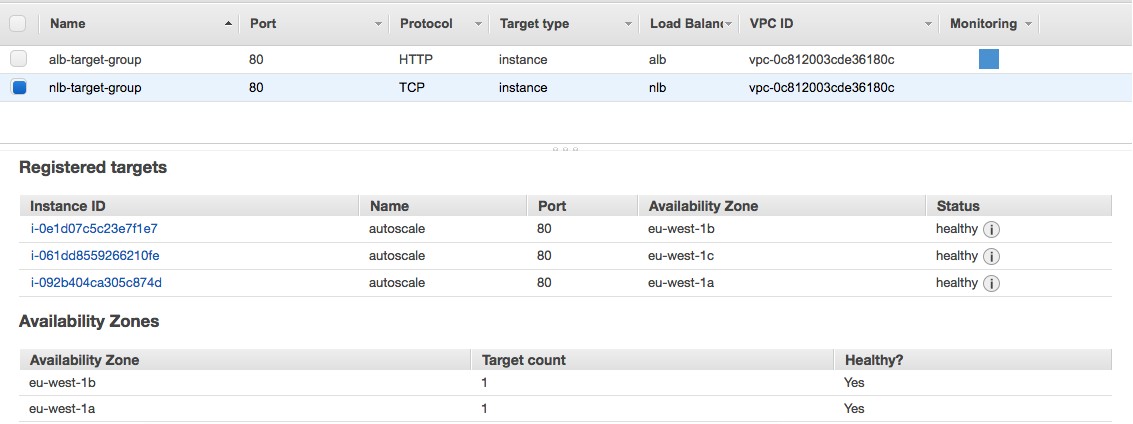
The Network Load Balancing (NLB) is very similar to the configuration like the ALB only that it supports the TCP protocol which should be only used for performance because of the limited health check functionality:
resource "aws_lb" "nlb" {
  name               = "nlb"
  internal           = false
  load_balancer_type = "network"
  subnets            = ["${aws_subnet.PublicSubnetA.id}","${aws_subnet.PublicSubnetB.id}","${aws_subnet.PublicSubnetC.id}"]
  enable_cross_zone_load_balancing  = true
  tags {
    Name = "nlb"
  }
}

resource "aws_lb_target_group" "nlb_target_group" {
  name     = "nlb-target-group"
  port     = "80"
  protocol = "TCP"
  vpc_id   = "${aws_vpc.default.id}"
  tags {
    name = "nlb_target_group"
  }
}

resource "aws_lb_listener" "nlb_listener" {
  load_balancer_arn = "${aws_lb.nlb.arn}"
  port              = 80
  protocol          = "TCP"

  default_action {
    target_group_arn = "${aws_lb_target_group.nlb_target_group.arn}"
    type             = "forward"
  }
}

resource "aws_autoscaling_attachment" "nlb_autoscale" {
  alb_target_group_arn   = "${aws_lb_target_group.nlb_target_group.arn}"
  autoscaling_group_name = "${aws_autoscaling_group.autoscale_group.id}"
}
Network Load Balancer (NLB)
NLB Target Group
Let’s run terraform apply:
berndonline@lab:~/aws-terraform$ terraform apply
data.aws_availability_zones.available: Refreshing state...

An execution plan has been generated and is shown below.
Resource actions are indicated with the following symbols:
  + create

Terraform will perform the following actions:

  + aws_autoscaling_attachment.alb_autoscale
      id:
      alb_target_group_arn:                        "${aws_lb_target_group.alb_target_group.arn}"
      autoscaling_group_name:                      "${aws_autoscaling_group.autoscale_group.id}"

  + aws_autoscaling_attachment.nlb_autoscale
      id:
      alb_target_group_arn:                        "${aws_lb_target_group.nlb_target_group.arn}"
      autoscaling_group_name:                      "${aws_autoscaling_group.autoscale_group.id}"

...

Plan: 41 to add, 0 to change, 0 to destroy.

Do you want to perform these actions?
  Terraform will perform the actions described above.
  Only 'yes' will be accepted to approve.

  Enter a value: yes

...

aws_lb.nlb: Creation complete after 2m53s (ID: arn:aws:elasticloadbalancing:eu-west-1:...:loadbalancer/net/nlb/235e69c61779b723)
aws_lb_listener.nlb_listener: Creating...
  arn:                               "" => ""
  default_action.#:                  "" => "1"
  default_action.0.target_group_arn: "" => "arn:aws:elasticloadbalancing:eu-west-1:552276840222:targetgroup/nlb-target-group/7b3c10cbdd411669"
  default_action.0.type:             "" => "forward"
  load_balancer_arn:                 "" => "arn:aws:elasticloadbalancing:eu-west-1:552276840222:loadbalancer/net/nlb/235e69c61779b723"
  port:                              "" => "80"
  protocol:                          "" => "TCP"
  ssl_policy:                        "" => ""
aws_lb_listener.nlb_listener: Creation complete after 0s (ID: arn:aws:elasticloadbalancing:eu-west-1:.../nlb/235e69c61779b723/dfde2530387b470f)

Apply complete! Resources: 41 added, 0 changed, 0 destroyed.

Outputs:

alb_dns_name = alb-1295224636.eu-west-1.elb.amazonaws.com
elb_dns_name = elb-611107604.eu-west-1.elb.amazonaws.com
nlb_dns_name = nlb-235e69c61779b723.elb.eu-west-1.amazonaws.com
berndonline@lab:~/aws-terraform$
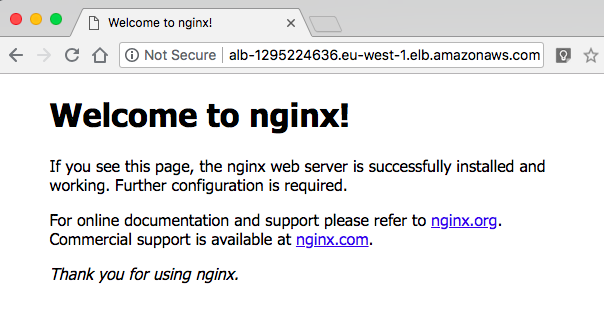
Together with the VPC configuration from my previous article, this deploys the different load balancers and provides you the DNS names as an output and ready to use.
Over the coming weeks I will optimise the Terraform code and move some of the resource settings into the variables.tf file to make this more scaleable.
If you like this article, please share your feedback and leave a comment.