I thought I’d share my experience using Ansible and Cisco ASA firewalls in multi-context mode. Right from the beginning I had a few issues deploying the configuration and the switch between the different security context didn’t work well. I got the error you see below when I tried to run a playbook. Other times the changeto context didn’t work well and applied the wrong config:
berndonline@lab:~$ ansible-playbook -i inventory site.yml --ask-vault-pass
Vault password:

PLAY [all] ***************************************************************************************************************************************************************************

TASK [hostname : set dns and hostname] ***********************************************************************************************************************************************
An exception occurred during task execution. To see the full traceback, use -vvv. The error was: error: [Errno 61] Connection refused
fatal: [fwcontext01]: FAILED! => {"changed": false, "err": "[Errno 61] Connection refused", "msg": "unable to connect to socket"}
ok: [fwcontext02]

TASK [interfaces : write interfaces config] ******************************************************************************************************************************************
ok: [fwcontext02]

....
After a bit of troubleshooting I found a workaround to limit the amount of processes Ansible use and set this limit to one in the Ansible.cfg. The default is five processes if forks is not defined as far as I remember.
[defaults]
inventory = ./inventory
host_key_checking=False
jinja2_extensions=jinja2.ext.do
forks = 1
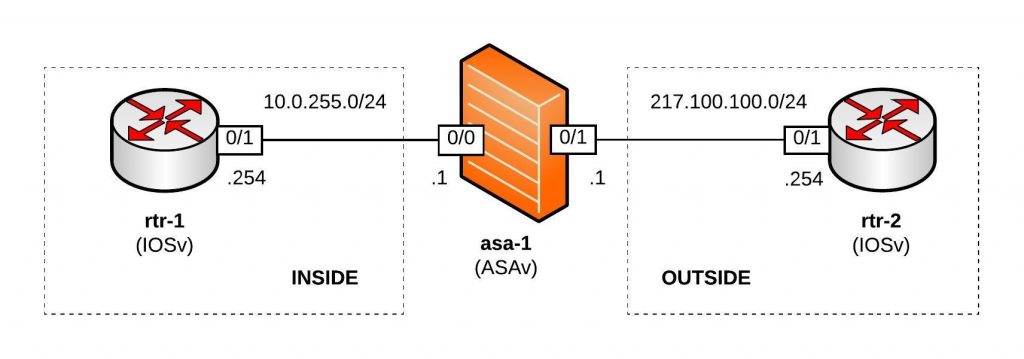
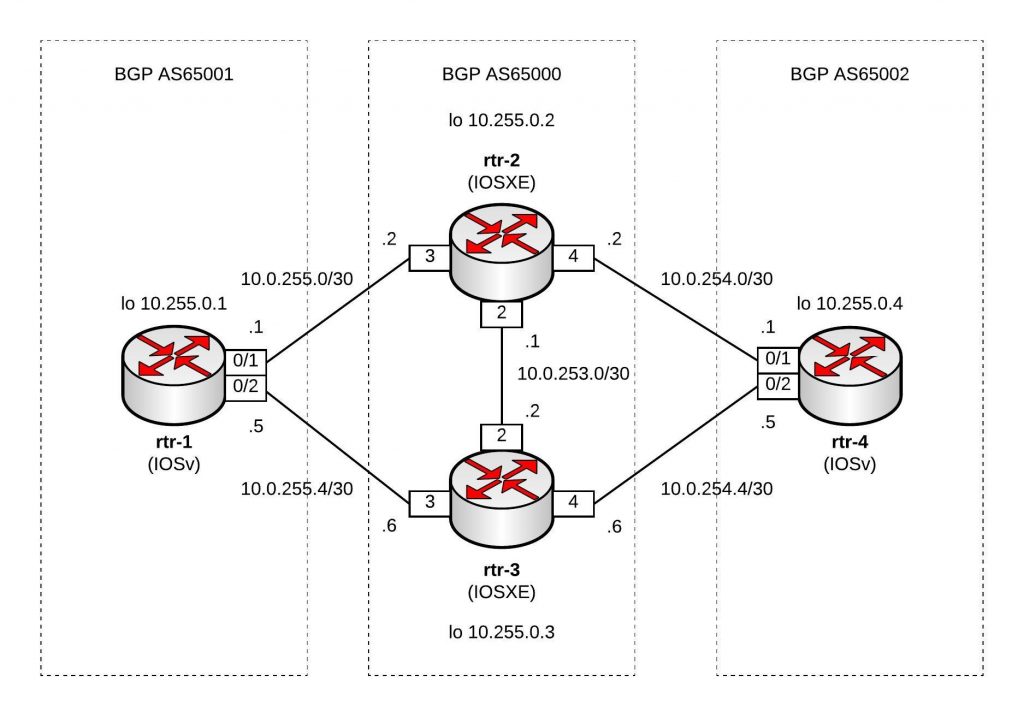
In the example inventory file, the “inventory_hostname” variable represents the security context and as you see the “ansible_ssh_host” is set to the IP address of the admin context:
fwcontext01 ansible_ssh_host=192.168.0.1 ansible_ssh_port=22 ansible_ssh_user='ansible' ansible_ssh_pass='cisco'
fwcontext02 ansible_ssh_host=192.168.0.1 ansible_ssh_port=22 ansible_ssh_user='ansible' ansible_ssh_pass='cisco'
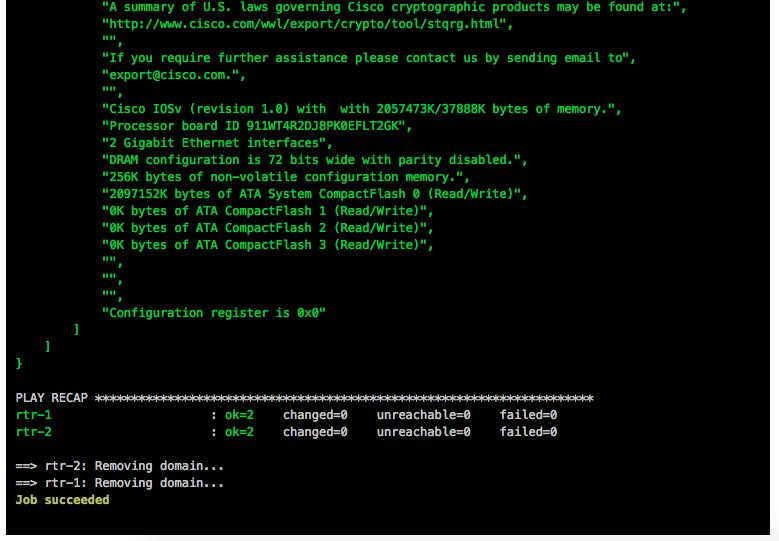
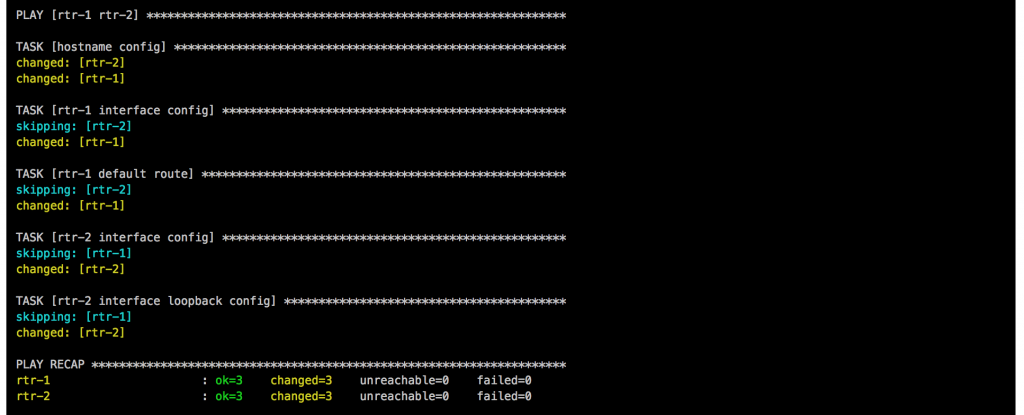
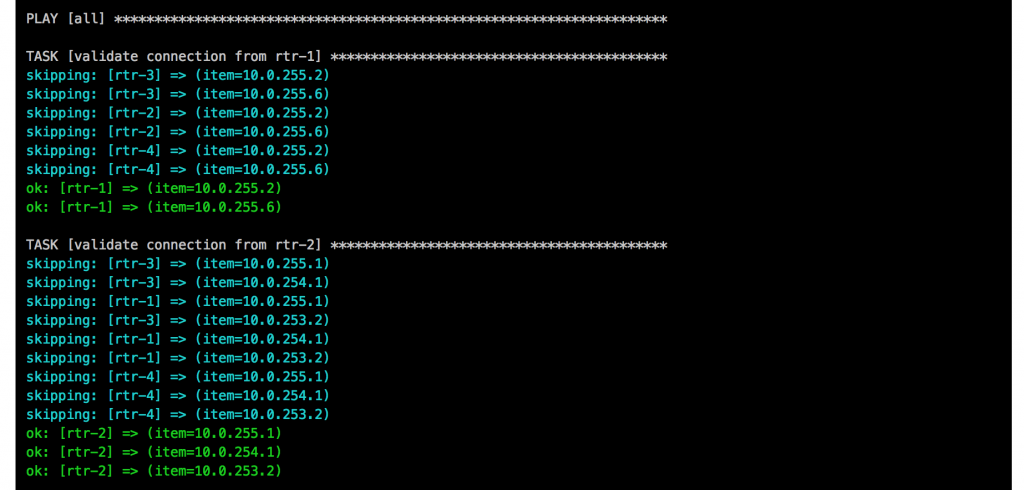
When you run the playbook again you can see that the playbook runs successfully but deploys the changes one by one to each firewall security context, the disadvantage is that the playbook takes much longer to run:
berndonline@lab:~$ ansible-playbook site.yml

PLAY [all] ***************************************************************************************************************************************************************************

TASK [hostname : set dns and hostname] ***********************************************************************************************************************************************
ok: [fwcontext01]
ok: [fwcontext02]

TASK [interfaces : write interfaces config] ******************************************************************************************************************************************
ok: [fwcontext01]
ok: [fwcontext02]
Example site.yml
---

- hosts: all
  connection: local
  gather_facts: 'no'

  vars:
    cli:
      username: "{{ ansible_ssh_user }}"
      password: "{{ ansible_ssh_pass }}"
      host: "{{ ansible_ssh_host }}"

  roles:
    - interfaces
In the example Interface role you see that the context is set to “inventory_hostname” variable:
---

- name: write interfaces config
  asa_config:
    src: "templates/interfaces.j2"
    provider: "{{ cli }}"
    context: "{{ inventory_hostname }}"
  register: result

- name: enable interfaces
  asa_config:
    parents: "interface {{ item.0 }}"
    lines: "no shutdown"
    match: none
    provider: "{{ cli }}"
    context: "{{ inventory_hostname }}"
  when: result.changed
  with_items:
    - "{{ interfaces.items() }}"
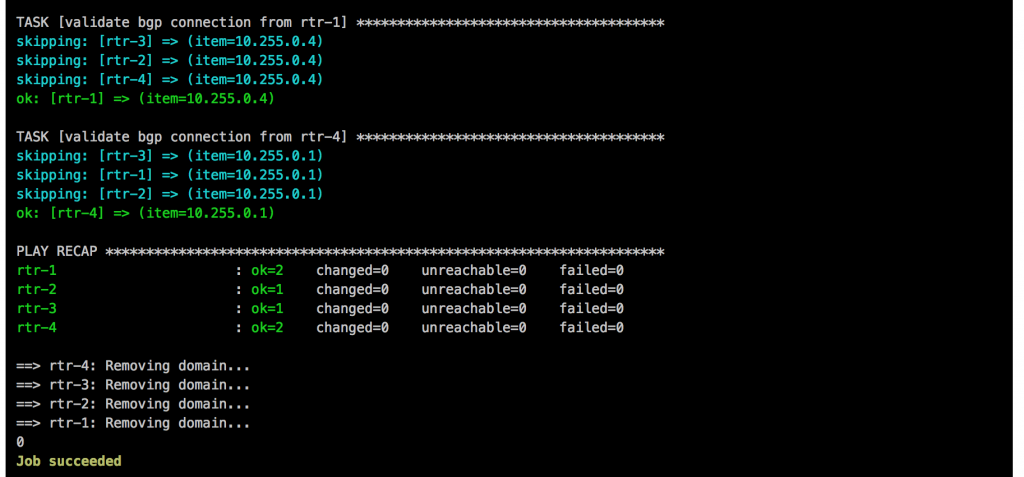
After modifying the forks, the Ansible playbook runs well with Cisco ASA in multi-context mode, like mentioned before it is a bit slow to deploy the configuration if I compare this to Cumulus Linux or any other Linux system.
Please share your feedback.
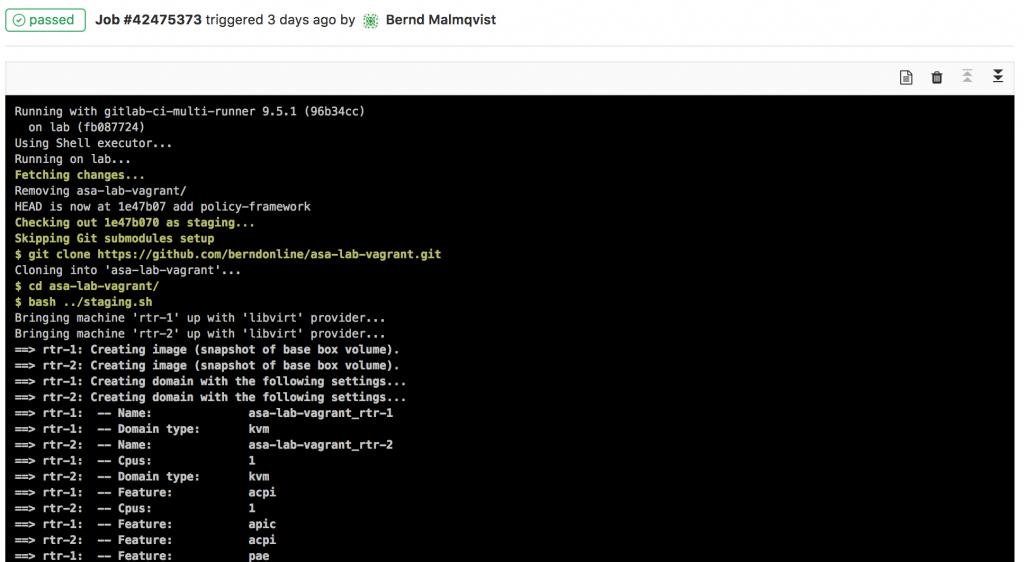

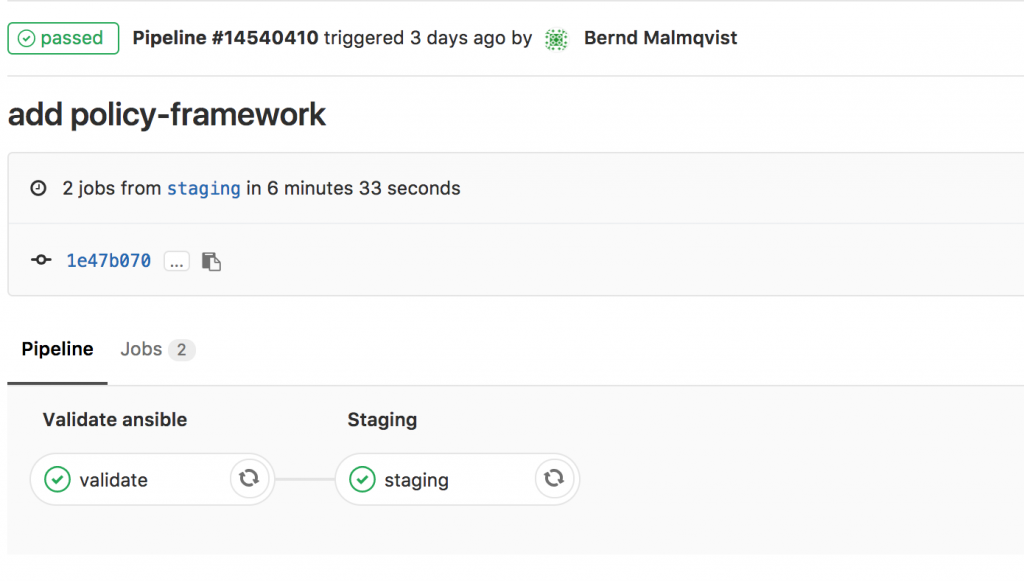


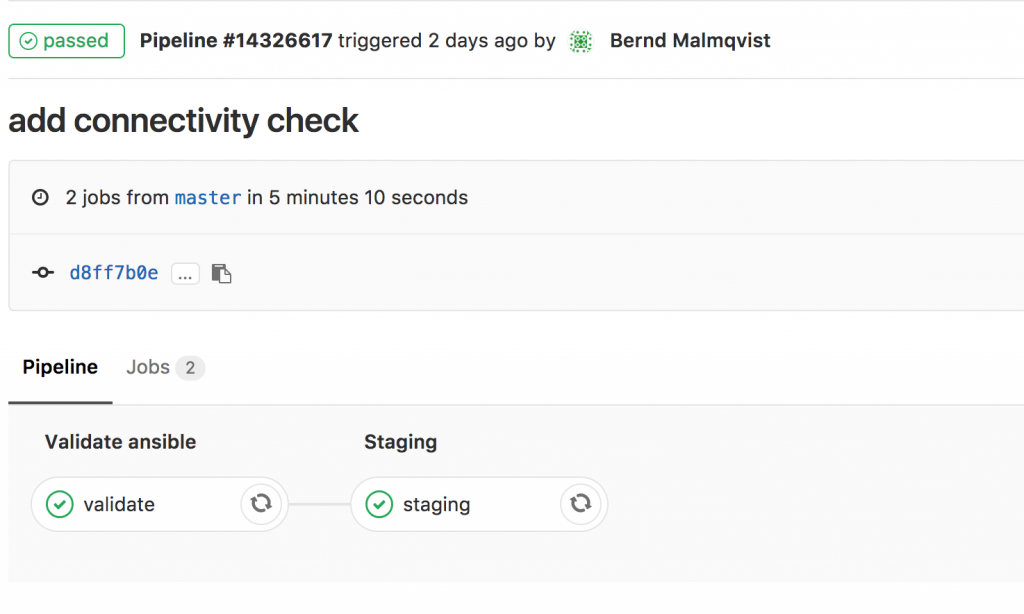 I will continue to improve the Playbook and the CICD pipeline so come back later to check it out.